
Documentation
Zentip documentation
Overview
What is Zentip?
Zentip is a Chrome extension that gives you a compact view of your Zendesk tickets without keeping Zendesk open. It checks active views for new and updated tickets, shows desktop notifications through Chrome, and can forward matching alerts to Slack, Microsoft Teams, or Discord.
Why use Zentip?
Zentip keeps the ticket views you care about close at hand. You can scan a queue, preview the latest reply, read a conversation, and open a ticket in Zendesk when it needs action. Periodic checks and configurable alerts help you notice changes without repeatedly refreshing Zendesk yourself.
How Zentip works
Zentip uses your existing signed-in Zendesk browser session to request tickets directly from Zendesk. It compares each refresh with its locally cached ticket data, then marks new or updated tickets and sends any enabled desktop or webhook alerts. Ticket data is not routed through a server operated by Zentip.
Requirements
To use Zentip, you need:
- An active Zendesk account and permission to view the tickets you want to monitor.
- A Chromium-based browser that supports Chrome extensions, such as Chrome, Edge, or Brave.
- An active Zendesk sign-in in the same browser profile where Zentip is installed.
Getting started
Install Zentip
- Open Zentip's listing in the Chrome Web Store .
- Select Add to Chrome, then confirm the installation.
- Open Zentip from the Extensions menu when the installation finishes.
Pin Zentip to the Chrome toolbar
- Select the Extensions puzzle-piece icon in the browser toolbar.
- Find Zentip and select the pin icon beside it.
Zentip will remain in the toolbar so you can open the ticket panel with one click.
Start the free trial
Open Zentip and select Start free trial. Follow the on-screen steps to activate seven days of access; no payment card is required. When the trial ends, choose a monthly or annual plan to keep using the extension.
Find your Zendesk subdomain
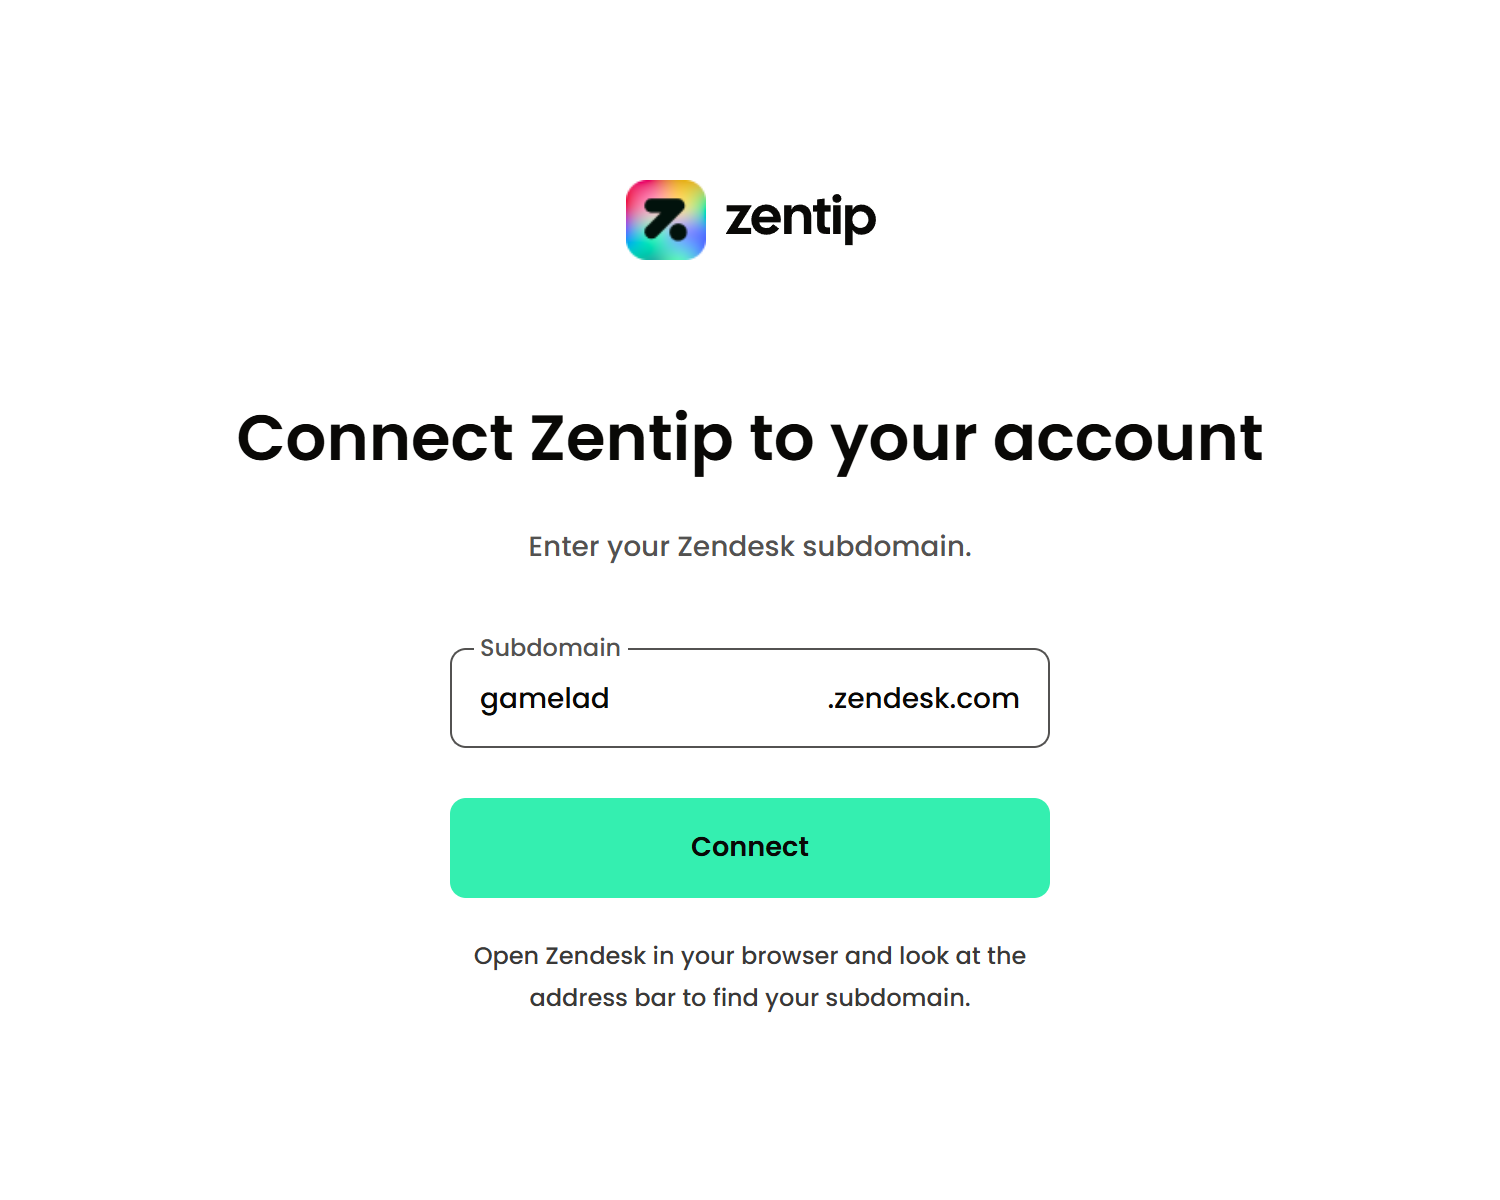
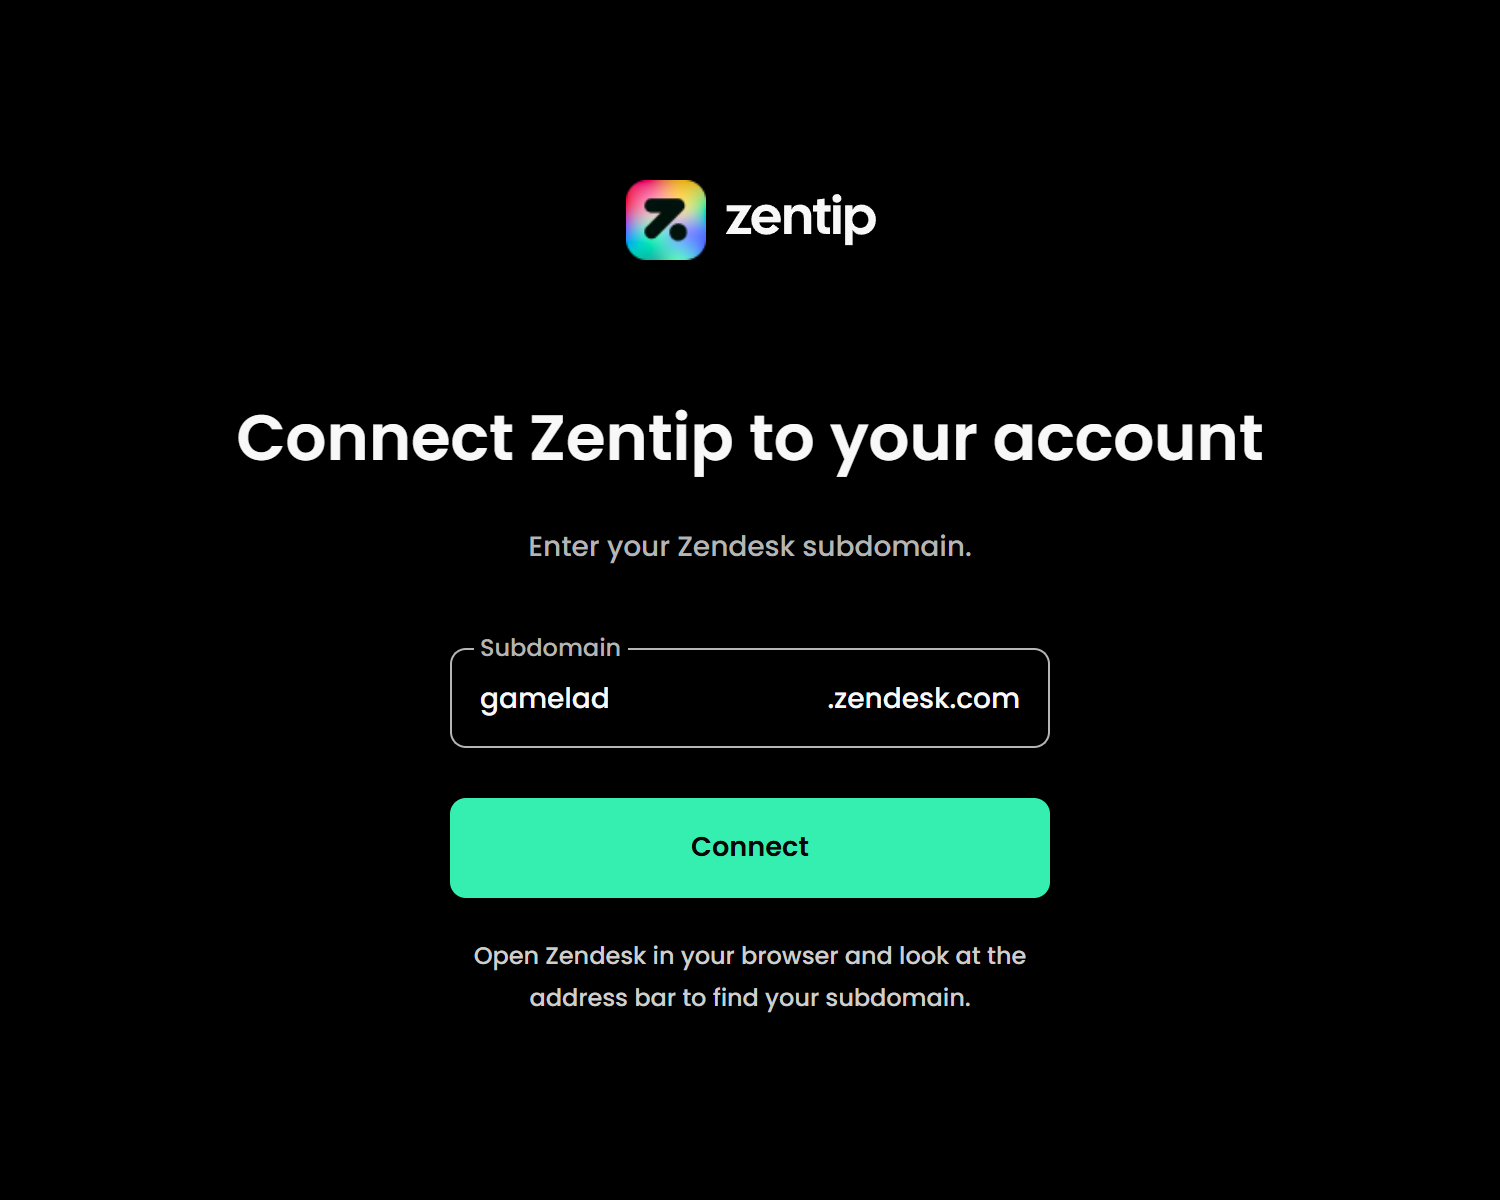
Your subdomain is the part before .zendesk.com in your Zendesk address. For example, if your address is gamestore.zendesk.com, enter gamestore in Zentip. You can find it in the browser address bar while Zendesk is open.
Sign in to Zendesk
Sign in to your Zendesk account in the same browser profile as Zentip, then return to the extension and connect your subdomain. Zentip uses that browser session, so signing out of Zendesk also prevents the extension from loading tickets until you sign in again.
Ticket views
Add a view from Zendesk
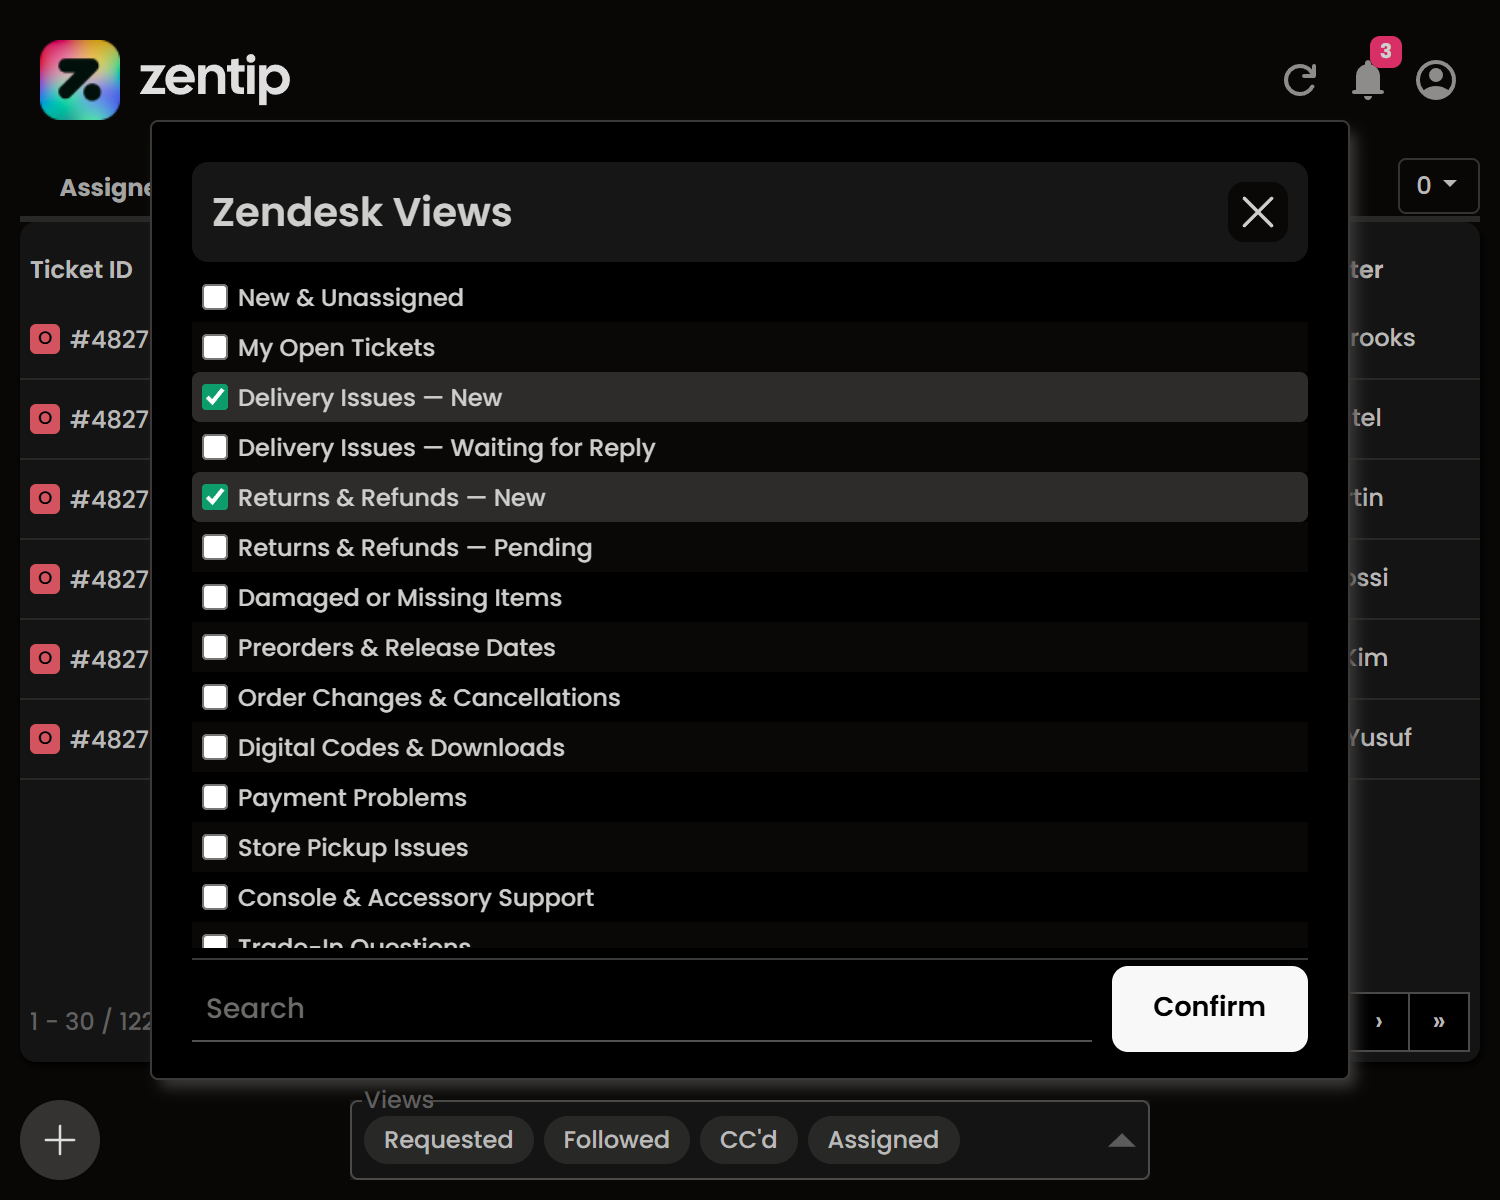
- Open Zentip, select the plus icon, then choose View from Zendesk.
- Search the available views and select one or more to add.
- Select Confirm.
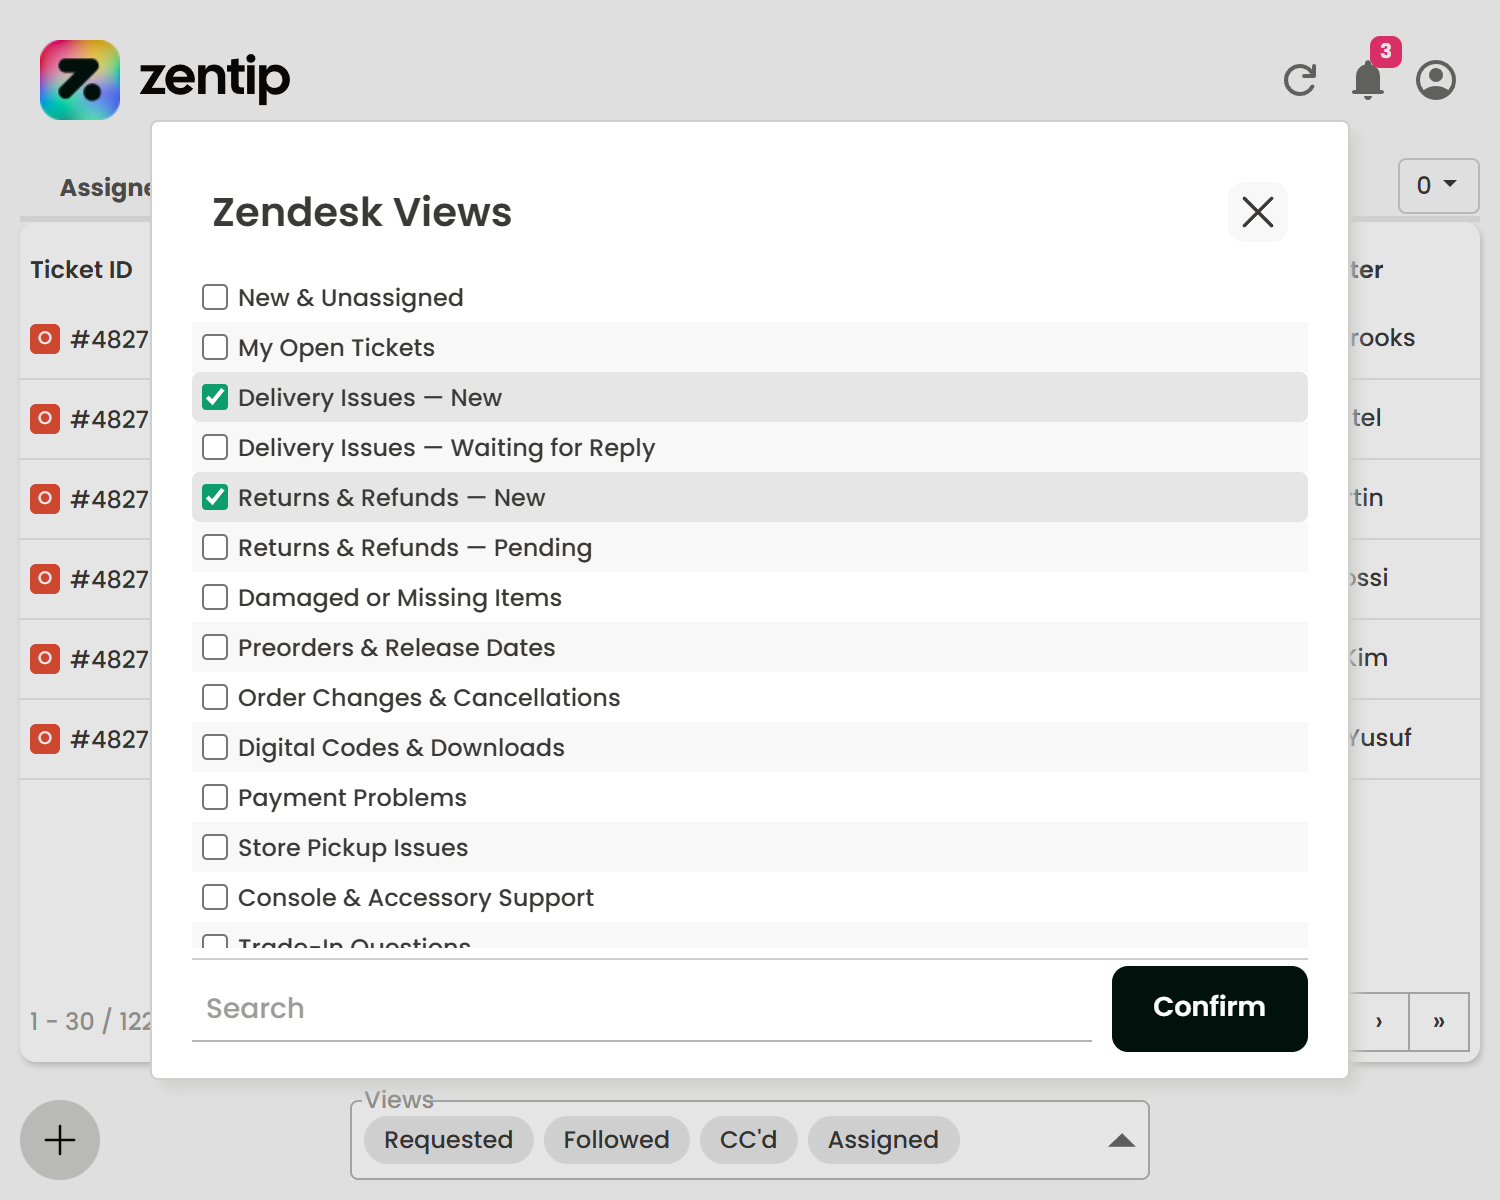
Newly added views are disabled by default and they need to be activated via the view selector at the bottom.
View visibility
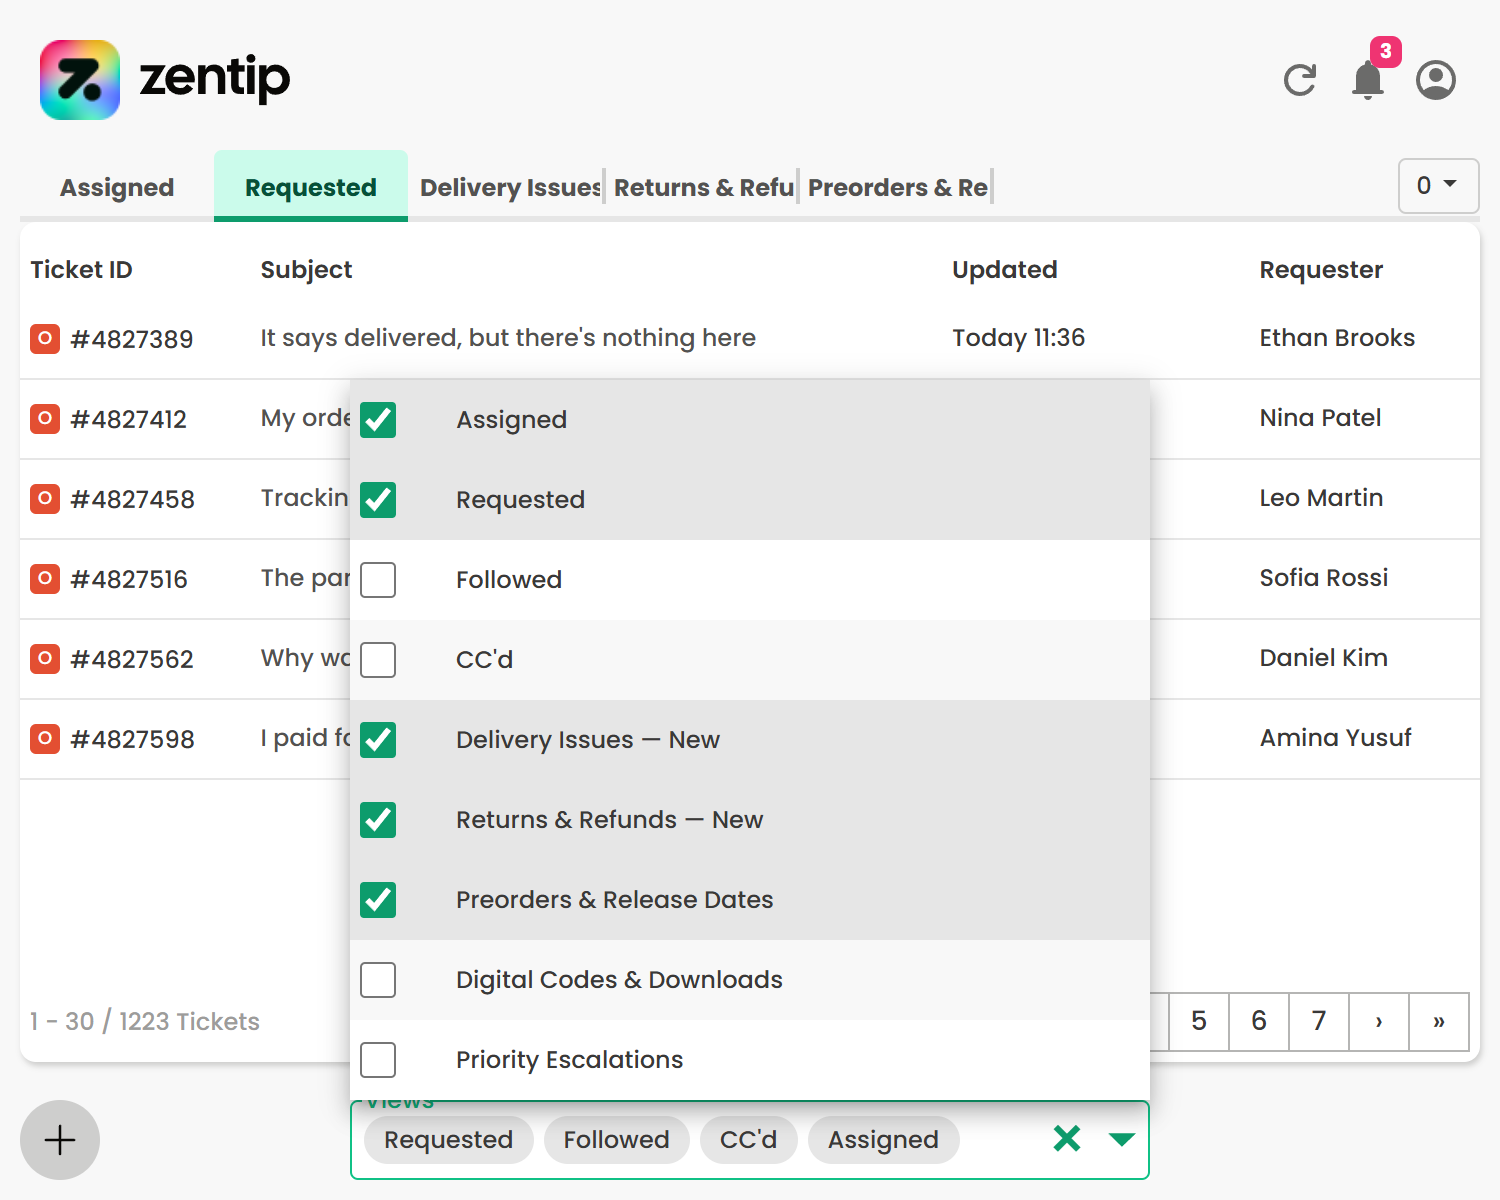
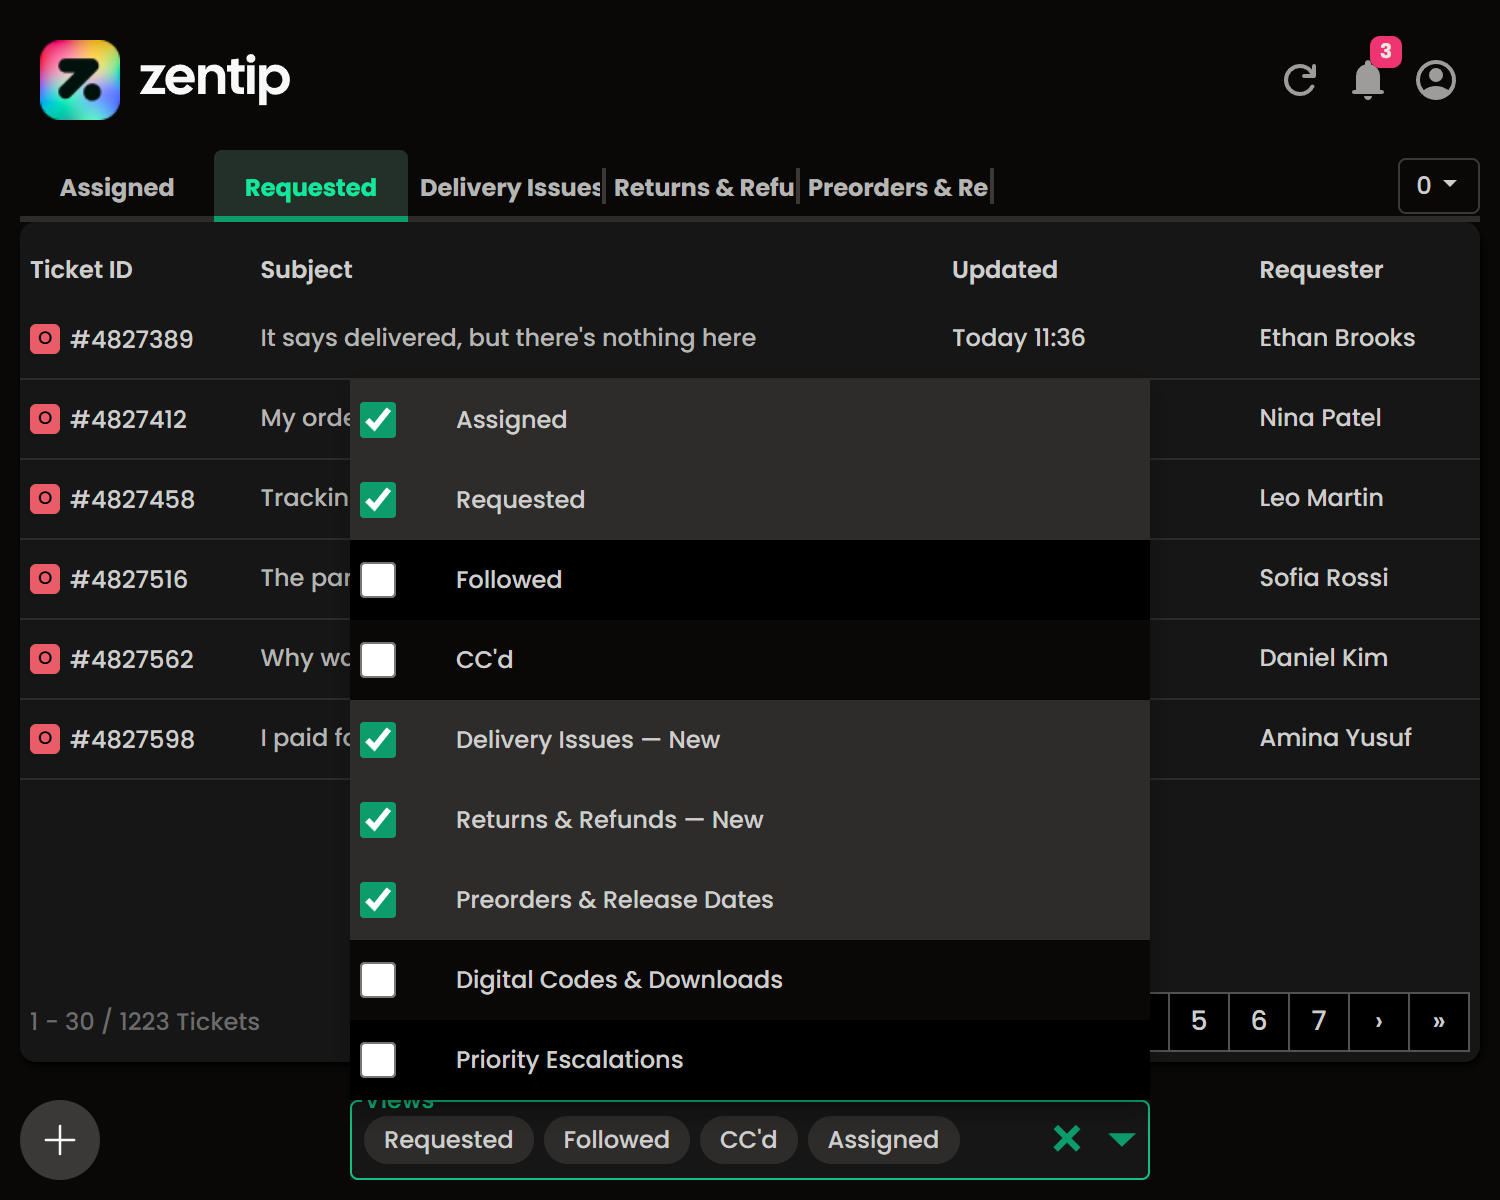
Open the view selector at the bottom of the ticket screen and select the views you want to keep active. Active views appear as tabs and are included when Zentip checks for ticket changes. Uncheck a view to hide and stop monitoring it without deleting it.
View ordering
Drag a tab left or right to change its position. You can also drag views inside and outside the tab drawer. Zentip saves the order for the next time you open the extension.
Tab drawer
When the tab bar runs out of room, extra views move into the tab drawer. Select the drawer button on the right of the tab bar to open it, then select a view to display it.
View refreshing
Select the refresh icon in the upper-right corner of the ticket screen to check active views now. By default, Zentip also checks automatically every 55 seconds. You can change the interval or switch to manual refresh only in Settings.
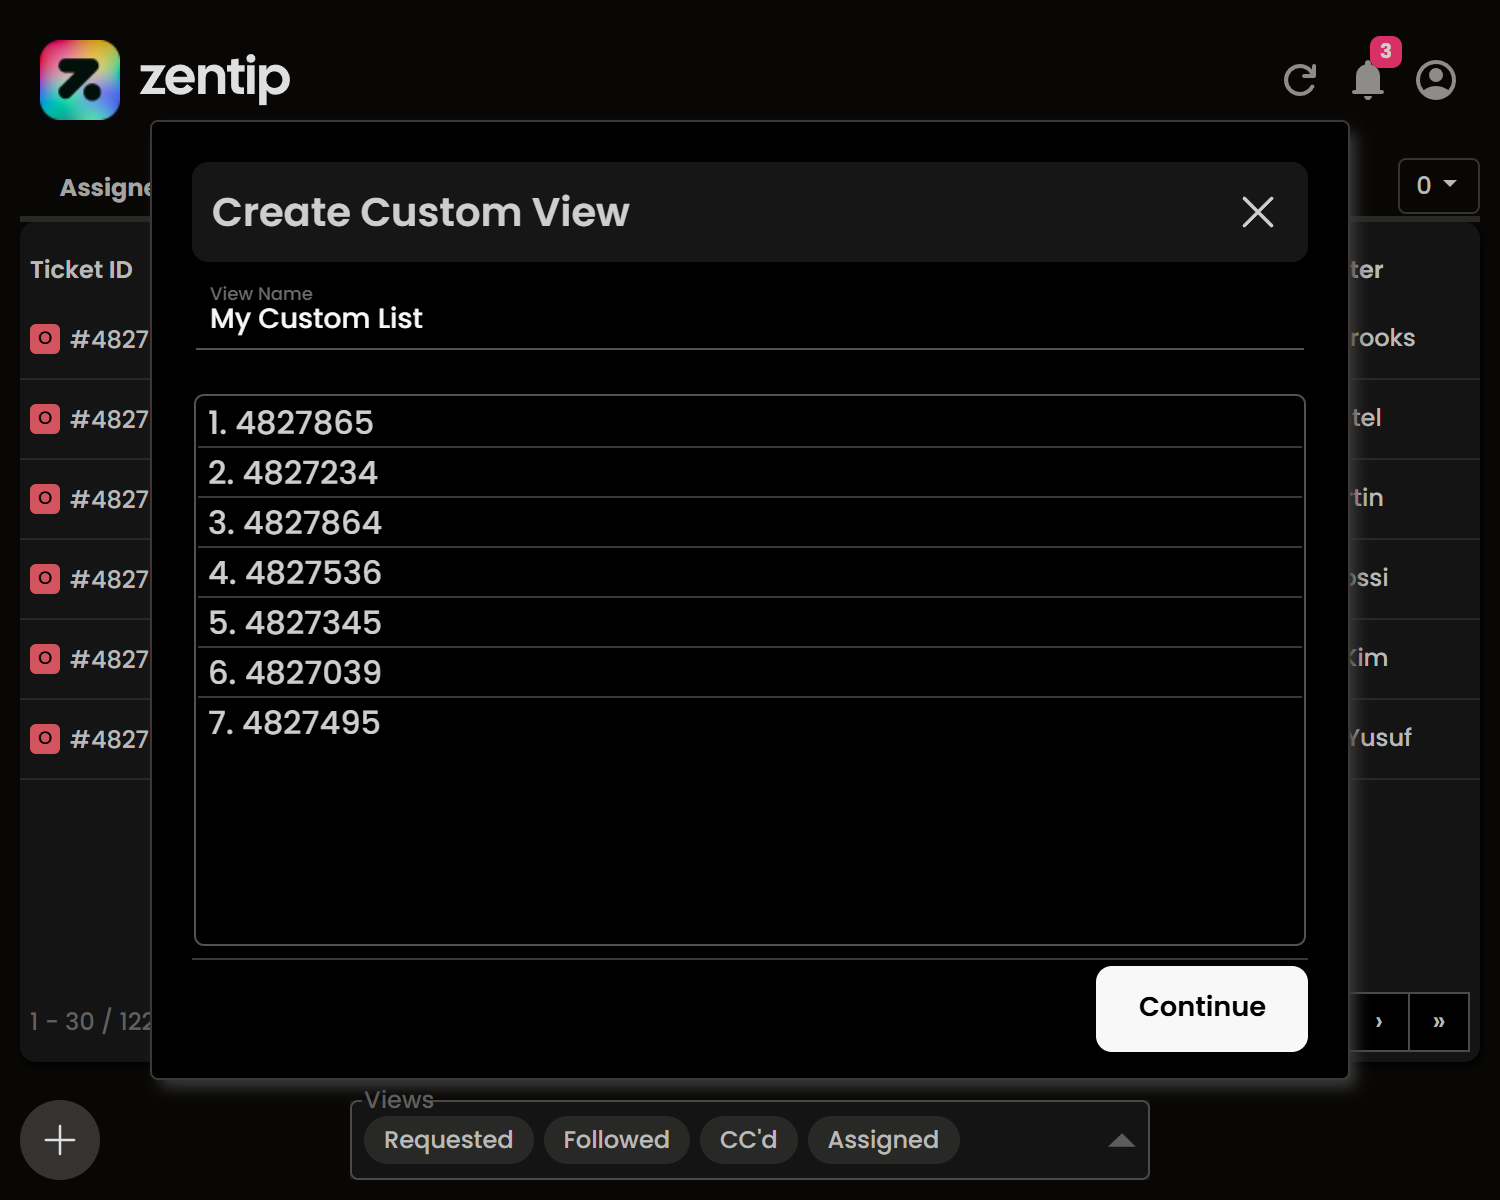
Create a custom ticket-ID view
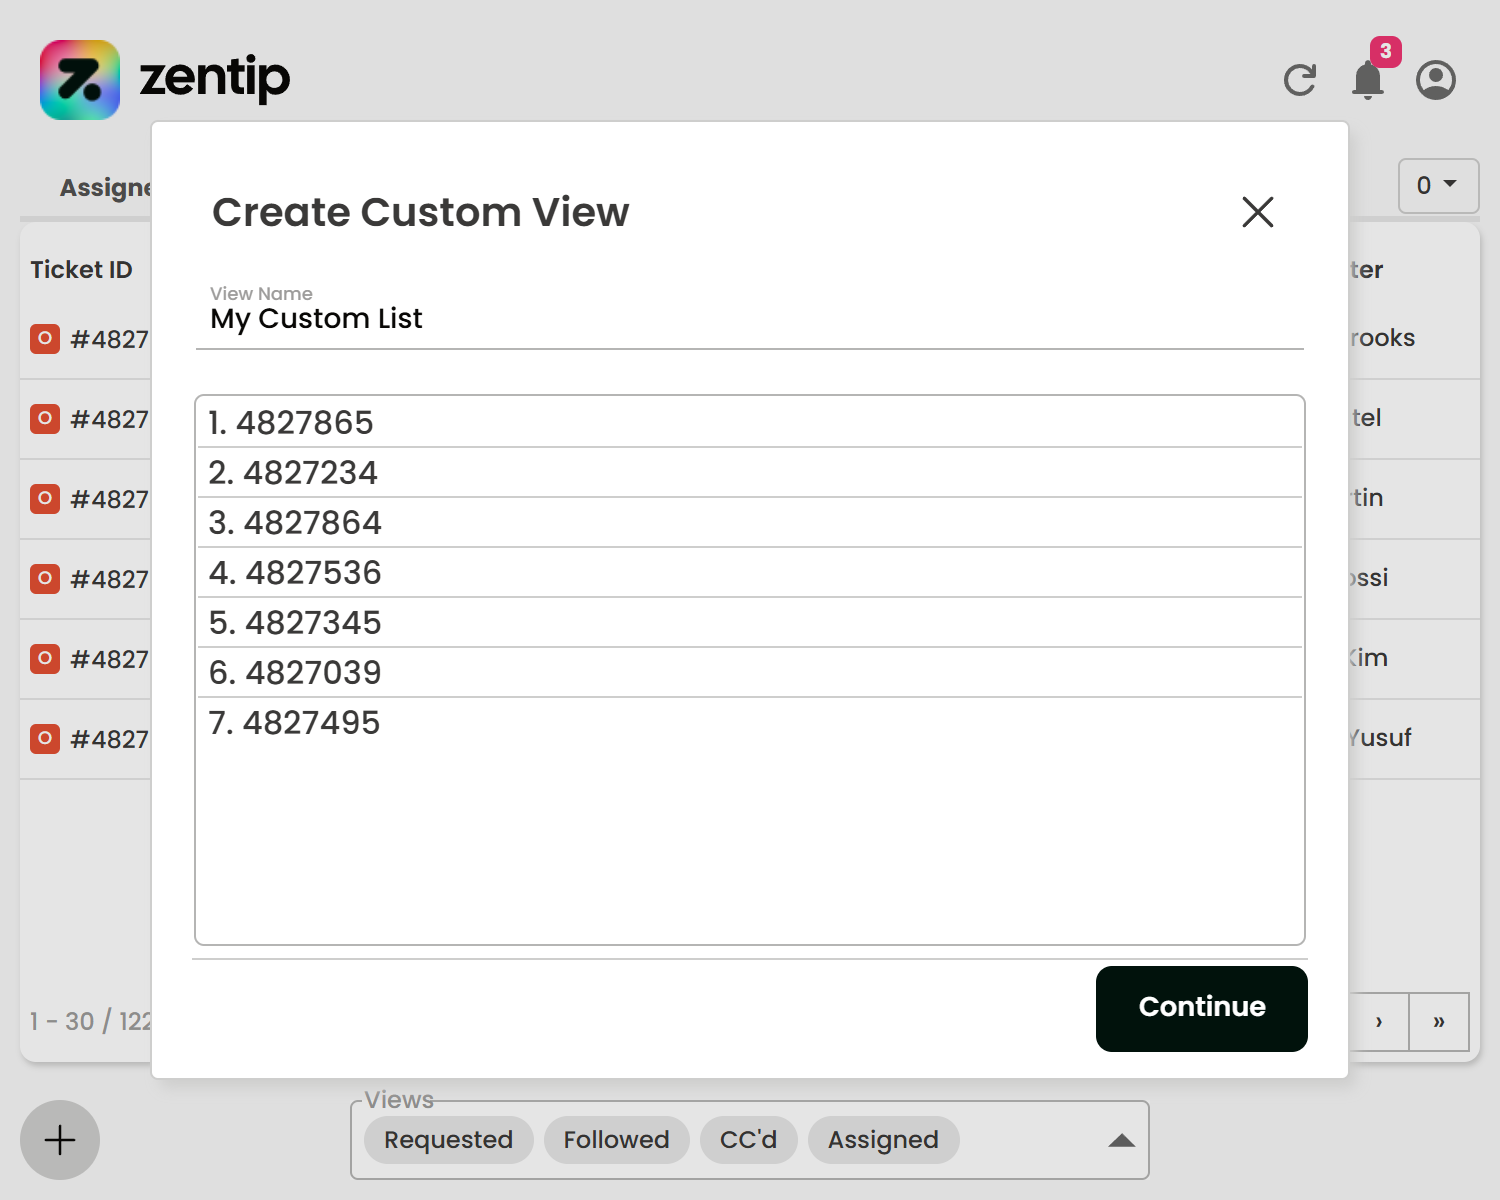
- Open Zentip, select the plus icon, then choose Custom View.
- Enter a name and add the Zendesk ticket IDs you want to monitor, one ID per line.
- Select Continue so Zentip can validate and preview the tickets.
- Select Save Custom View.
The custom view becomes is disabled by default and needs to be actived via the view selector at the bottom.
Edit a custom view
Open the custom view and select Edit View in the lower-left corner. Change its name or ticket IDs, select Continue to validate the updated list, then select Update Custom View.
Delete a custom view
Open the view selector at the bottom of the ticket screen, point to the custom view, and select its trash icon. Deleting a custom view removes the saved list from Zentip; it does not delete any Zendesk tickets.
Ticket notifications
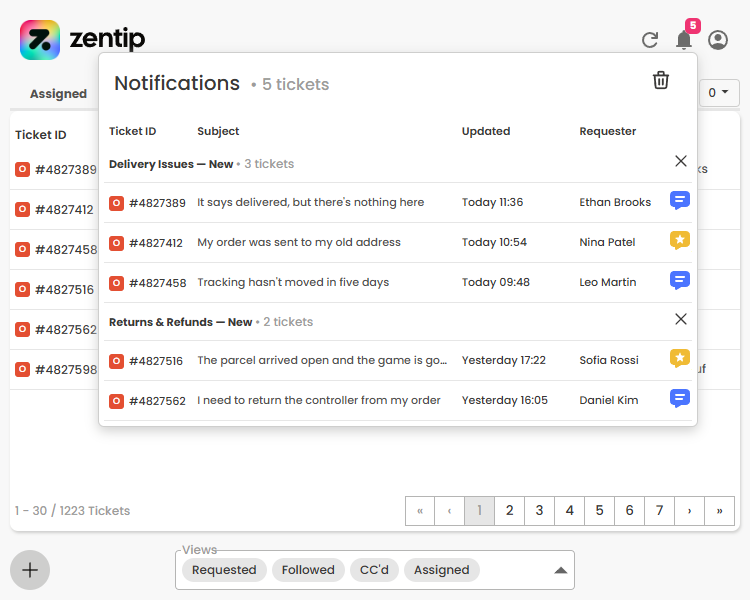
New and updated tickets are marked in their views and added to the notification center. Select the bell icon in the upper-right corner of Zentip to review alerts grouped by view.
Working with tickets
Read the ticket list
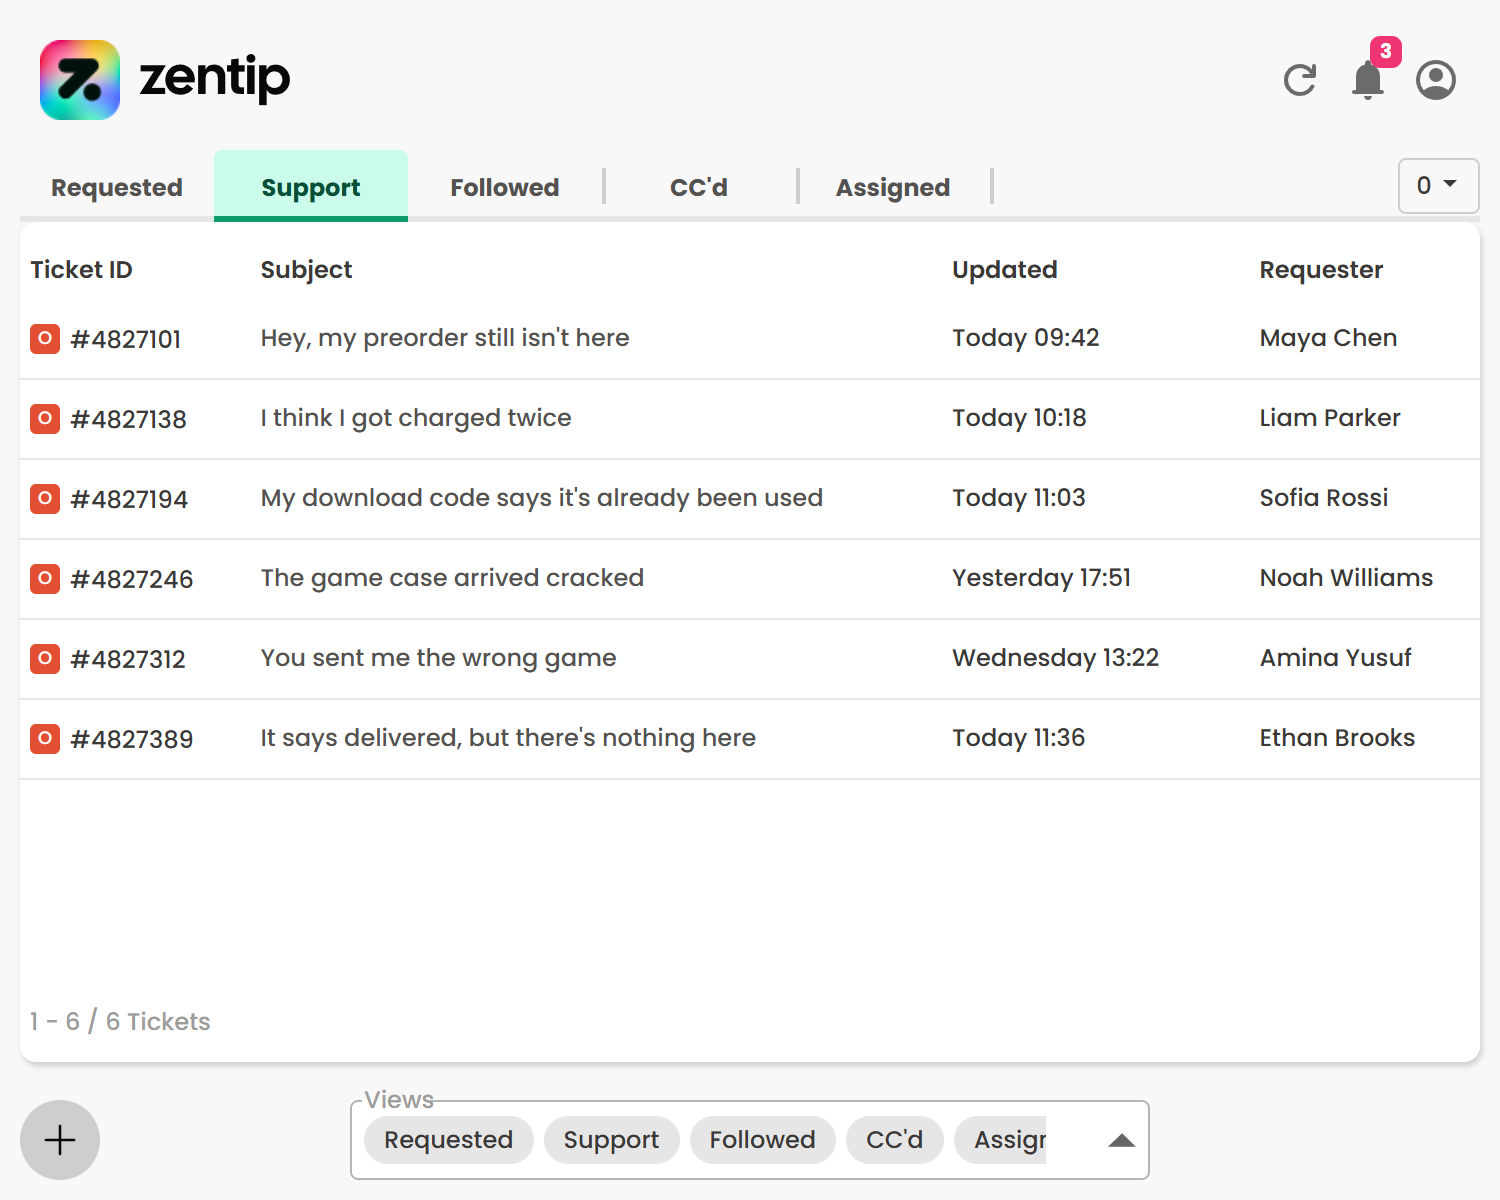
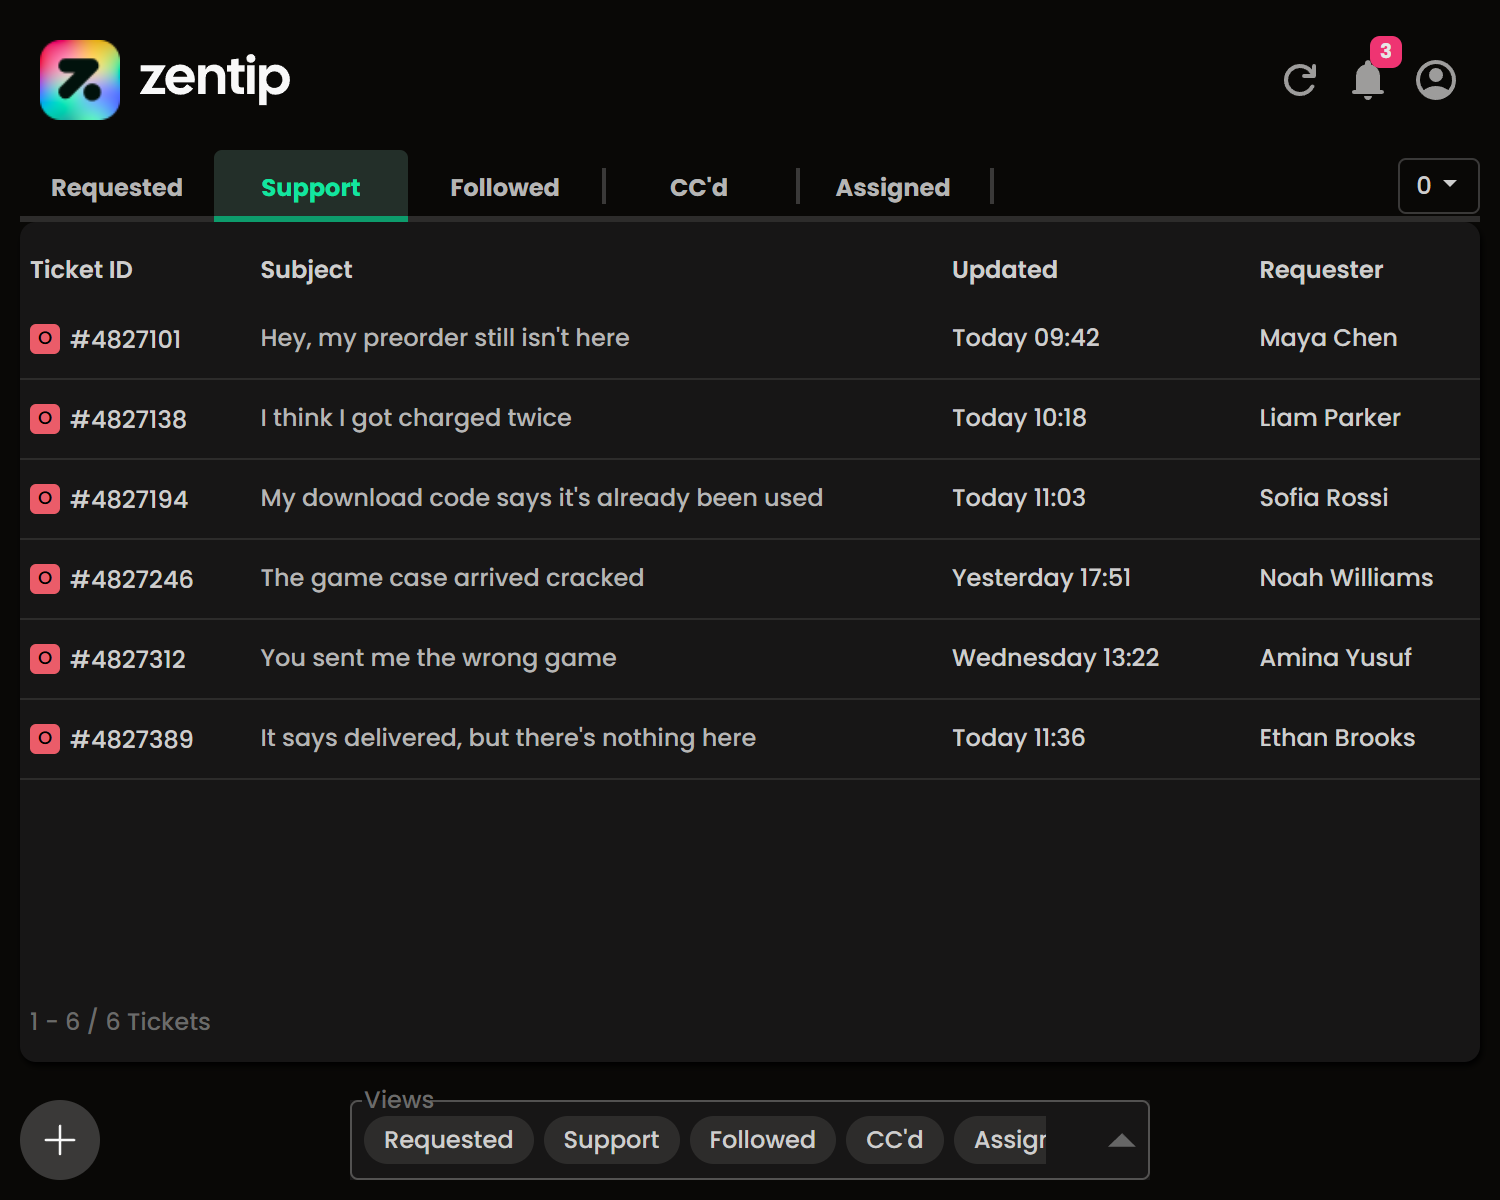
The selected view lists each ticket's ID and status, subject, update time, and requester. Depending on your column settings, it can also show the requested time, group, and assignee. Select anywhere in a row to read the ticket in Zentip, or select its subject to open the ticket directly in Zendesk.
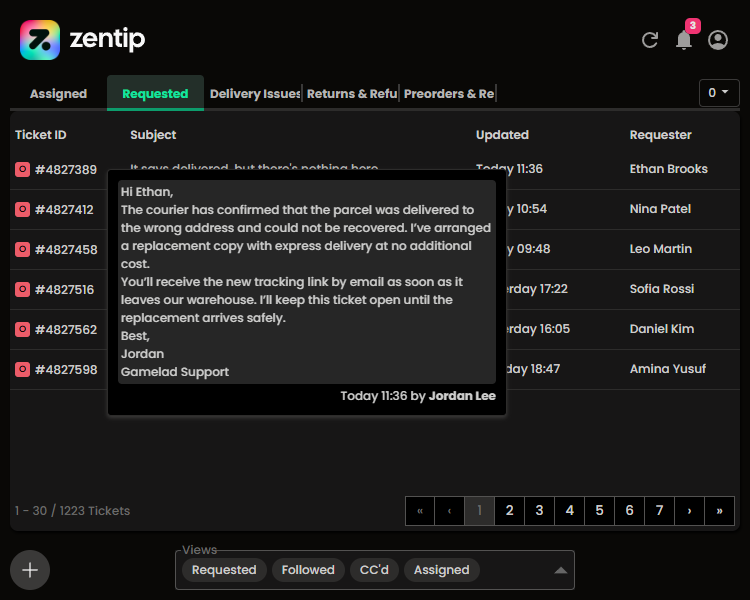
Preview the latest message
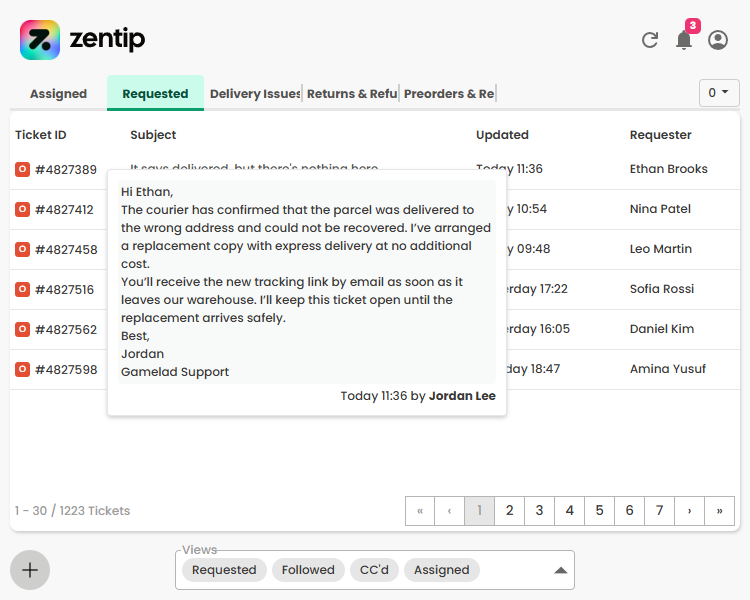
Point to a ticket row to preview the latest message without opening the full conversation. Select the row when you need the complete ticket history and attachments.
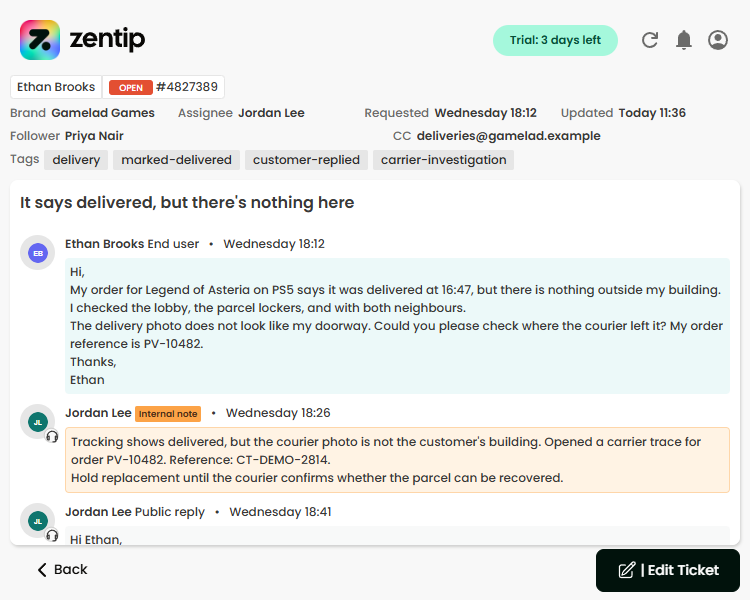
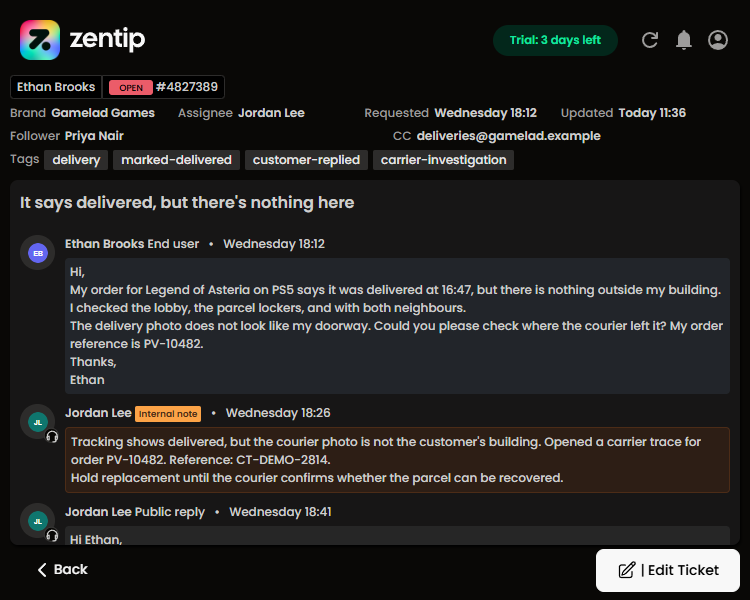
Ticket details, followers, CCs, and tags
The built-in ticket viewer can display:
- Requester, ticket ID, status, brand, and assignee.
- Requested and last-updated times.
- Followers, CCs, tags, subject, and the full comment history.
- Public replies, internal notes, author roles, and attachments.
The viewer is read-only. Select Edit Ticket in the lower-right corner to open Zendesk and make changes there.
Notifications
Desktop notifications
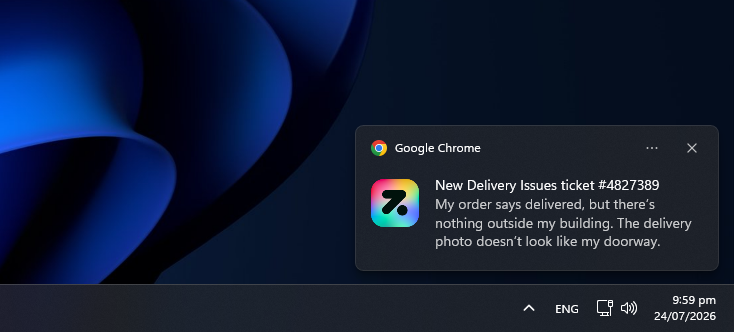
Zentip uses Chrome's notification system to alert you when it detects a new ticket or an update to an existing ticket. Chrome and your operating system must both allow notifications for them to appear.
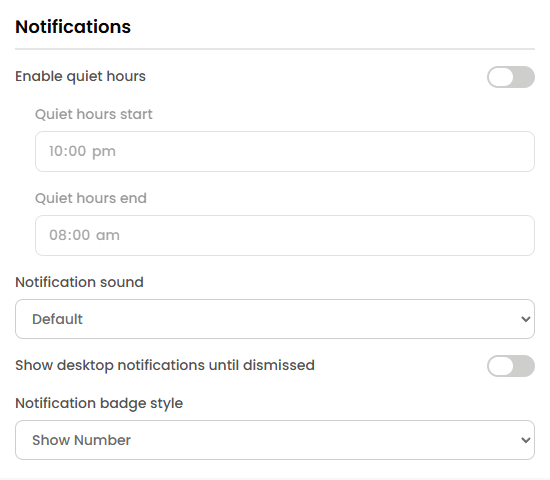
In Zentip settings, you can choose a sound, set quiet hours, and keep desktop notifications visible until you dismiss them.
Notification center
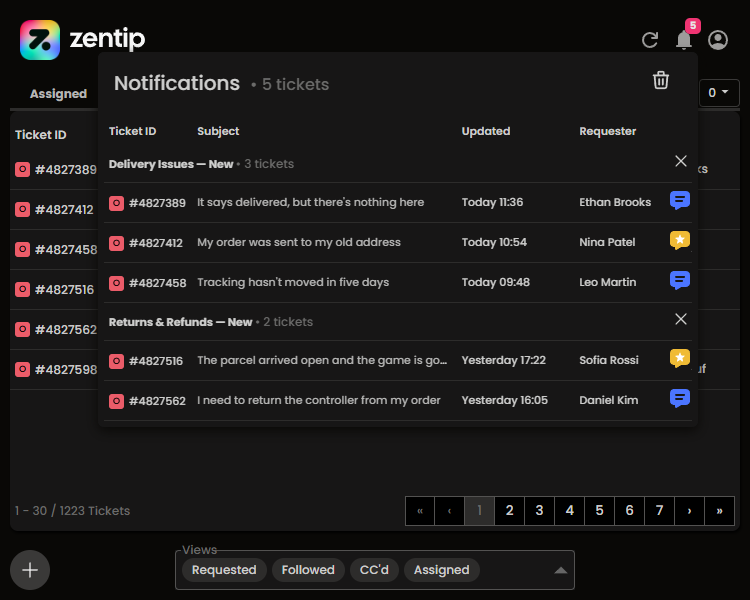
Select the bell icon in the upper-right corner of Zentip to open the notification center. It keeps recent new-ticket and ticket-update alerts together and groups them by active view.
Notification settings
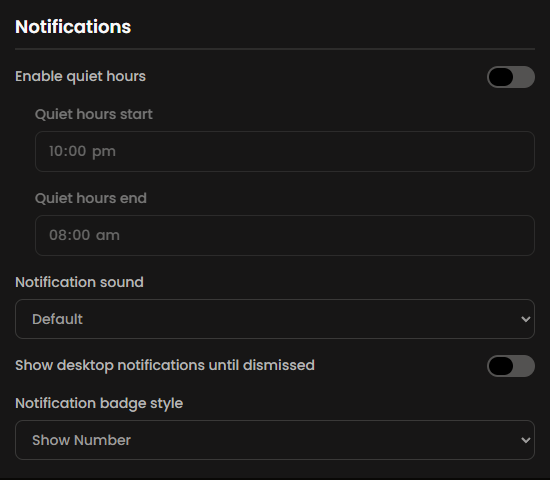
Open Settings to configure:
- Quiet hours: suppress automatic checks and alerts between your chosen times.
- Notification sound: choose a sound or select Silent.
- Show until dismissed: keep desktop notifications visible until you close them.
- Badge style: show an unread count, a dot, or no badge.
History retention and automatic clearing are available farther down the same settings screen.
Clear notifications
A yellow icon marks a new ticket; a blue icon marks an update to an existing ticket.
- Select a notification row to read the ticket in Zentip.
- Select its subject to open the ticket in Zendesk.
- Select the trash icon on one notification to remove only that alert.
- Select the trash icon beside a view to clear that group's alerts.
- Select the trash icon at the top of the notification center to clear everything.
Extension badge
Zentip can show the number of unread alerts on its toolbar icon. If you prefer a quieter indicator, change Badge Style in Settings to a dot or hide it completely.
Webhook integrations
Slack, Microsoft Teams, and Discord
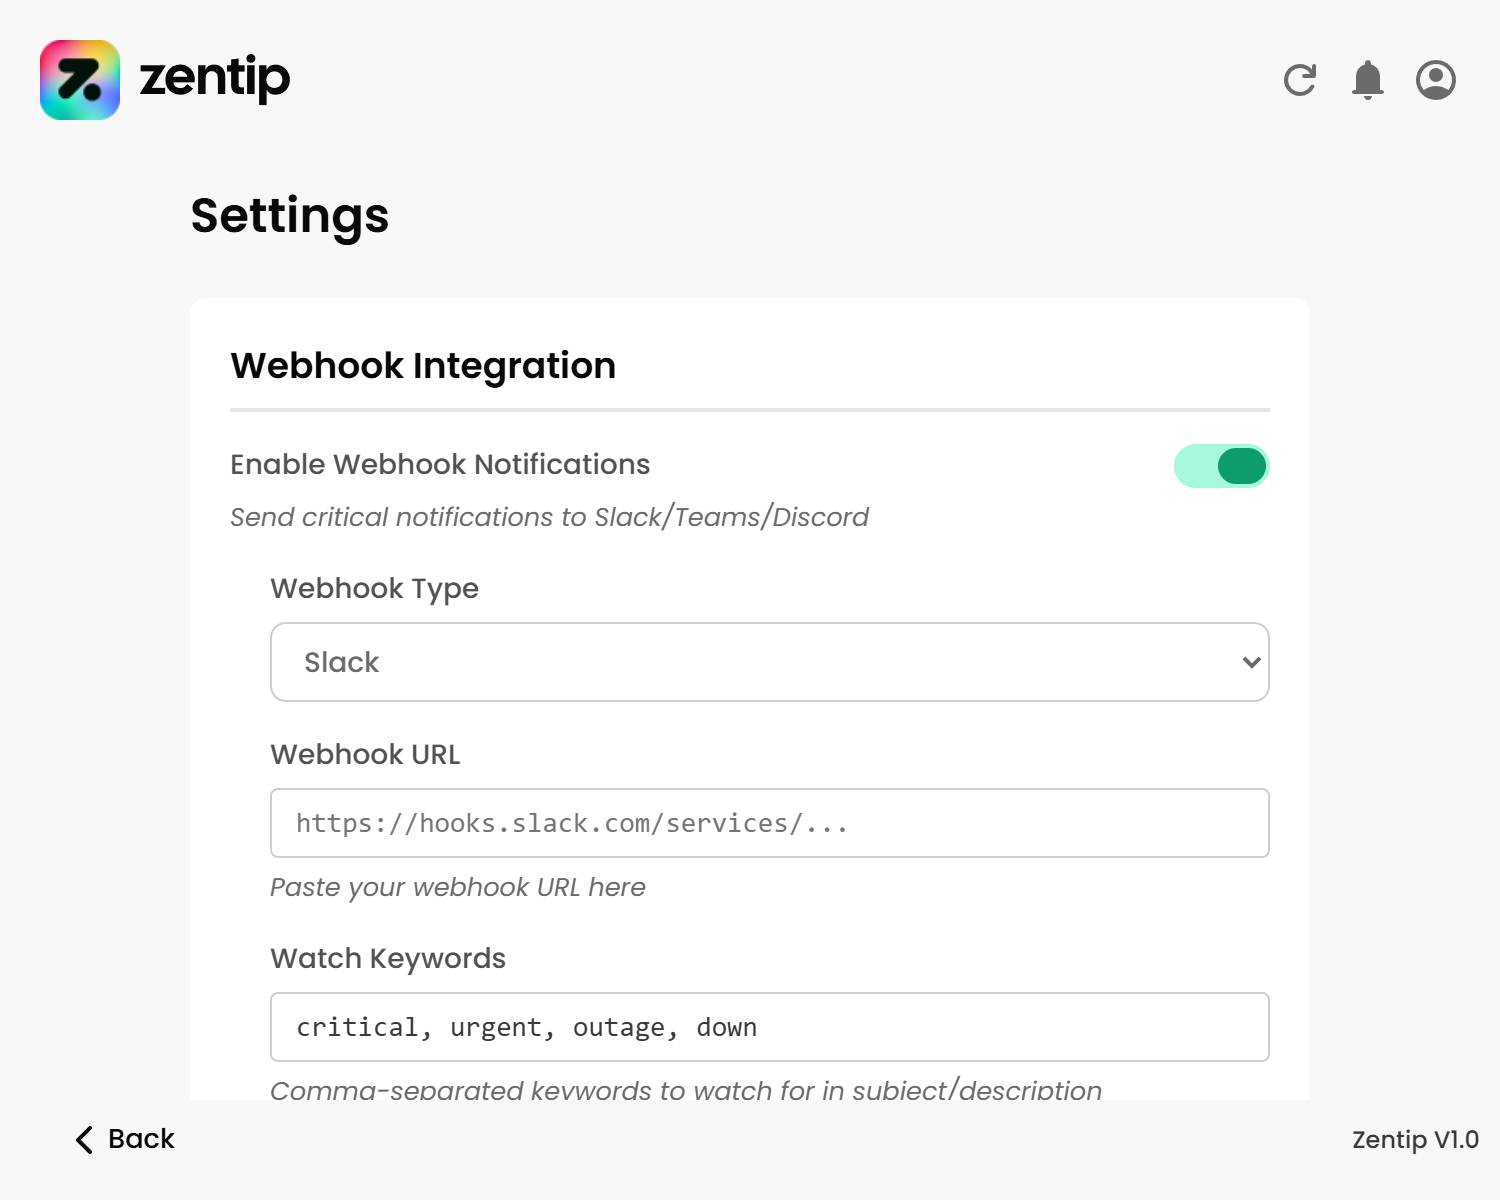
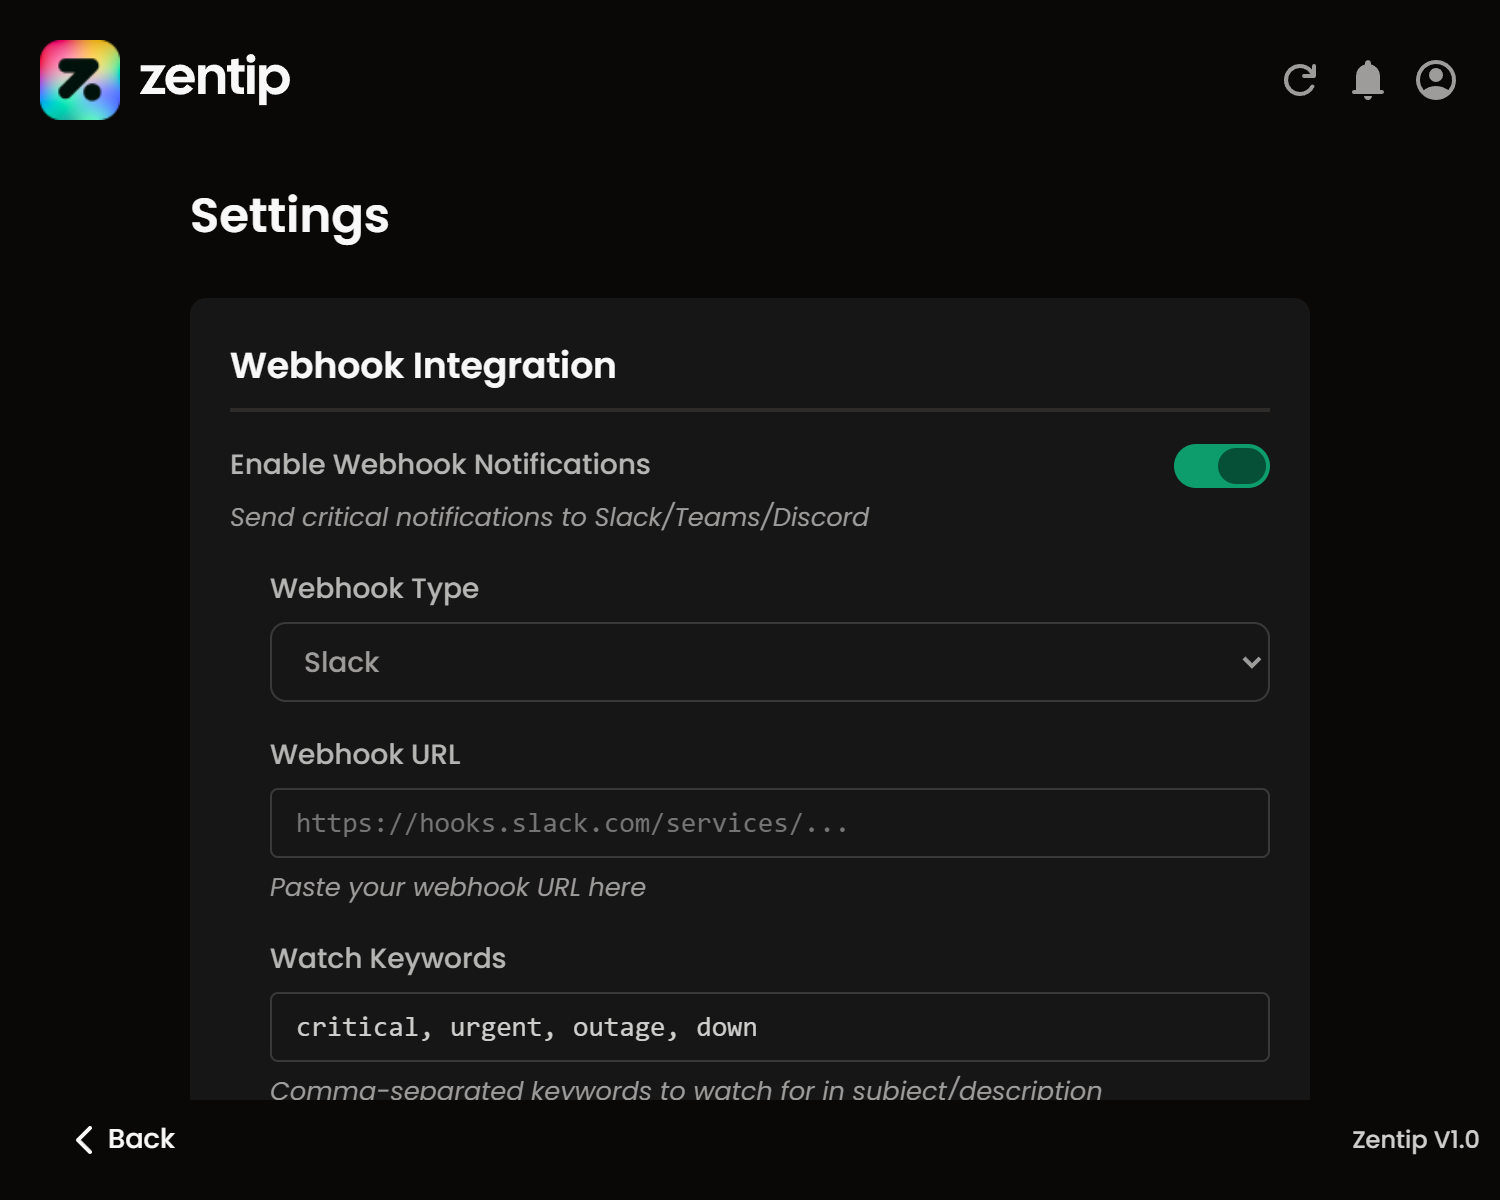
Zentip can send ticket alerts to a Slack channel, Microsoft Teams chat or channel, or Discord channel. It formats each alert for the selected service and posts it directly from Chrome to the webhook URL you provide. The alert does not pass through a server operated by Zentip.
Use the official guide for your destination to create and copy an incoming webhook URL:
For Microsoft Teams, open the Workflows app and choose either Send webhook alerts to a channel or Send webhook alerts to a chat, depending on where you want Zentip alerts to appear. Choose the destination, save the workflow, and copy its webhook URL into Zentip. These templates allow Zentip to post its Message Card directly to the URL without a Microsoft authentication token. Legacy Microsoft 365 Connector webhook URLs are no longer supported by Microsoft.
Add a webhook URL
- Open Zentip and select the profile icon.
- Select Settings.
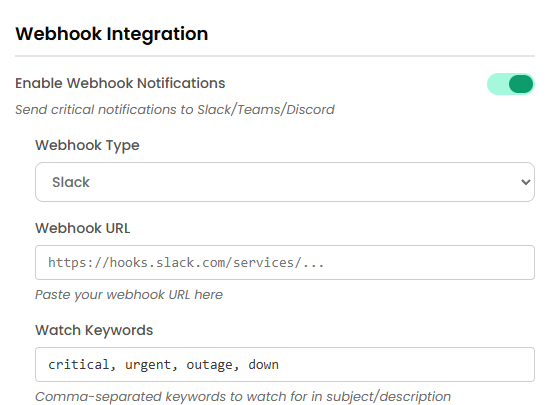
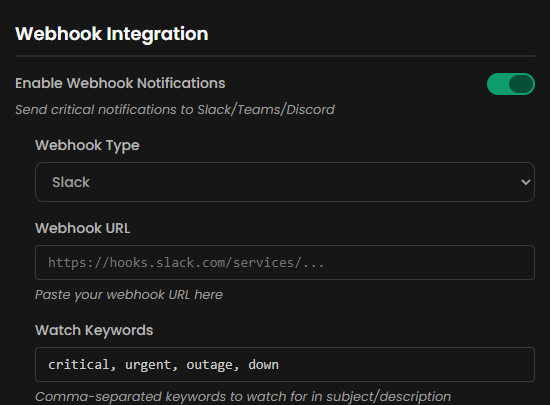
- Under Webhook Integration, enable webhook notifications.
- Select Slack, Microsoft Teams, or Discord.
- Create a webhook in that service and copy its URL.
- Paste the URL into Webhook URL.
Zentip remembers a separate URL for each supported service, so switching webhook types does not replace the URLs saved for the other services. Treat every webhook URL as a secret: anyone who obtains it may be able to post to its destination.
Watch keywords
Enter a comma-separated list of words or phrases that should trigger a webhook, such as urgent, outage, payment failed. Matching is not case-sensitive. Zentip checks the ticket subject and description and sends the webhook when at least one configured keyword is found.
Leave the field empty to allow every otherwise eligible new or updated ticket to trigger a webhook.
Choose monitored views
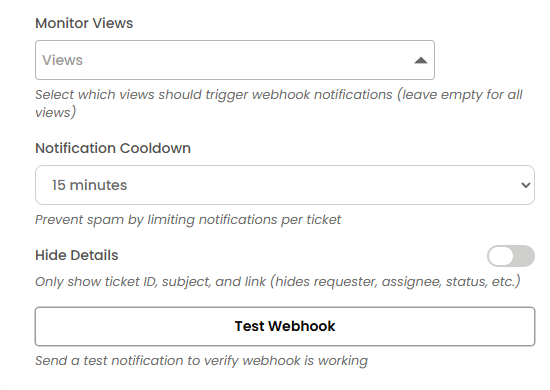
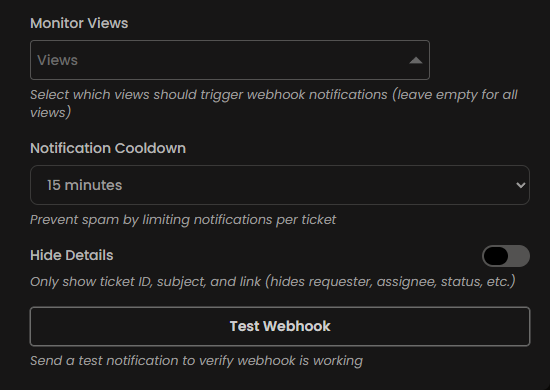
Use Monitor Views to limit webhook alerts to selected active views. You can select Zentip's built-in views, views imported from Zendesk, or custom ticket-ID views that are currently active.
Leave the selection empty to monitor all active views. Removing a view from Zentip also prevents that view from triggering future webhook alerts.
Set a notification cooldown
The cooldown prevents repeated webhook messages for the same ticket within a short period. Choose no cooldown, 5 minutes, 15 minutes, 30 minutes, or 1 hour. The default is 15 minutes.
A cooldown applies per ticket. Alerts for other matching tickets can still be sent while one ticket is in its cooldown period.
Hide ticket details
By default, a webhook alert can include the ticket subject, status, a message excerpt, requester, assignee, brand, and a link to the ticket. The exact layout varies by Slack, Teams, and Discord.
Enable Hide Details to omit the message content and personal or account details such as the requester, assignee, and brand. The alert still includes the ticket ID, subject, status, and Zendesk link so the recipient can identify and open the ticket.
Webhook alerts are sent to the third-party service you choose. Review that service's access controls, retention settings, and privacy practices before sending ticket information to it.
Send a test notification
After selecting a service and entering its URL, select Test Webhook. Zentip sends a clearly labelled test ticket using the current webhook type and privacy setting. The test does not use a real Zendesk ticket.
Confirm that the message appears in the intended channel or chat before enabling the integration for live alerts. If it does not arrive, check that the URL belongs to the selected service, the destination still exists, and your workspace or server permissions allow incoming webhook posts.
Settings
Open settings
Open Zentip, select the profile icon, then select Settings. Changes are saved as you make them unless the control includes its own save or import button.
Theme
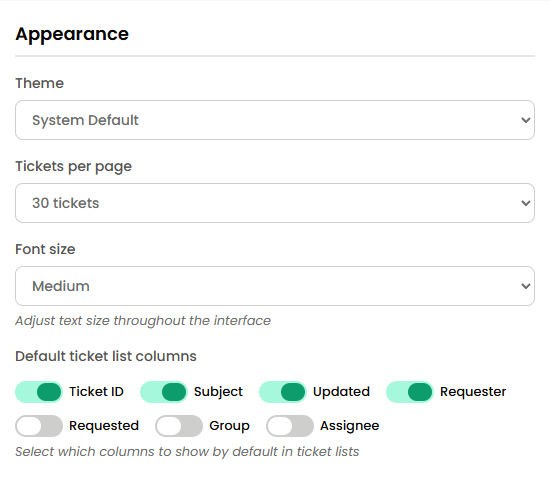
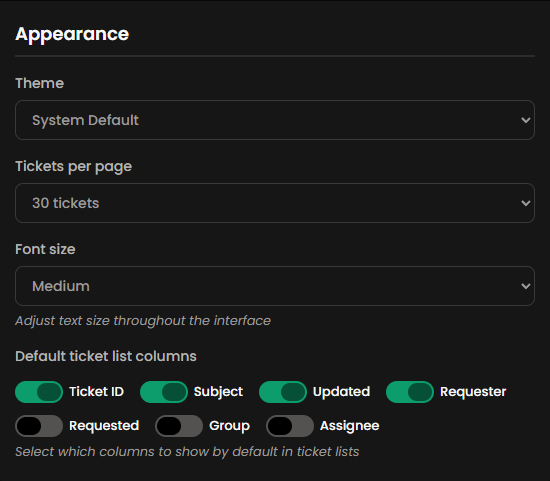
Choose Light, Dark, or System. System follows your browser or operating-system colour preference and changes automatically when that preference changes.
Drag the divider, or focus it and use the arrow keys.
Tickets per page
Choose 10, 25, 30, 50, or 100 tickets per page. The default is 30. A larger page shows more of the queue at once but may take longer to render on accounts with detailed tickets.
Font size
Choose Small, Medium, or Large to change text size inside the extension. This setting does not alter Zendesk itself.
Default ticket list columns
Choose which columns appear in ticket lists. Ticket ID, Subject, Updated, and Requester are enabled by default; Requested, Group, and Assignee can be added when you need them. Changes apply across views.
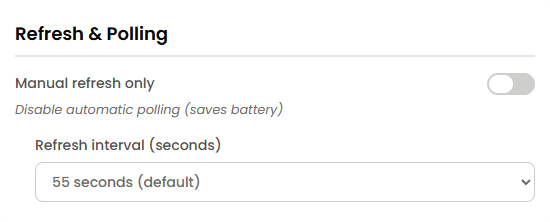
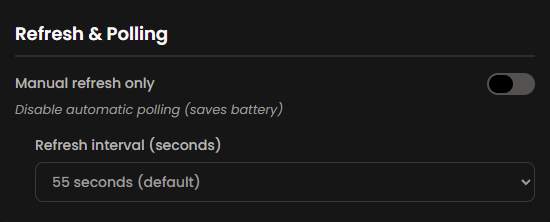
Refresh interval
Choose how often Zentip checks active views: 30 seconds, 55 seconds, 1 minute, 2 minutes, 5 minutes, or 10 minutes. The default is 55 seconds. Shorter intervals find changes sooner but make more requests to Zendesk.
Manual refresh only
Enable Manual refresh only to stop scheduled checks. Zentip will load updates only when you select the refresh icon. This also means new-ticket and update alerts will not be detected in the background.
Notification history retention
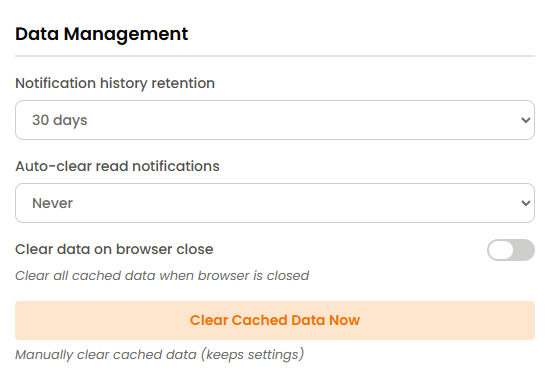
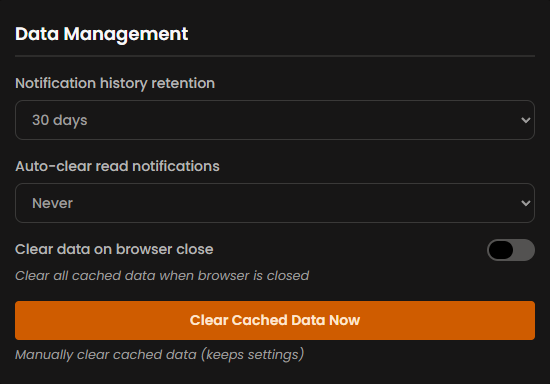
Choose how long notification-center entries are kept: 1, 3, 7, 14, 30, or 90 days, or Forever. The default is 30 days. This controls Zentip's local notification history, not Zendesk ticket history or operating-system notifications.
Auto-clear read notifications
Choose when an alert should be removed after you read it: immediately, after 1 hour, 24 hours, or 7 days. Select Never to keep read alerts until their retention limit is reached or you clear them manually.
Clear cached data
Select Clear Cached Data to remove locally cached ticket and temporary extension data. Your settings are preserved. Zentip will request fresh ticket data the next time you open or refresh it, so the first load may take slightly longer.
Clear data when Chrome closes
Enable this option to clear cached extension data when the browser closes. This is useful on shared devices, although Zentip may need to fetch more data when the browser starts again. It does not delete tickets from Zendesk.
Export or import settings
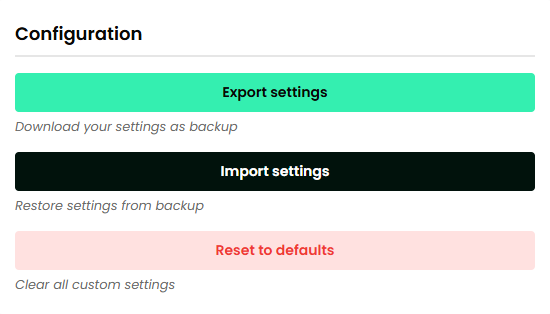
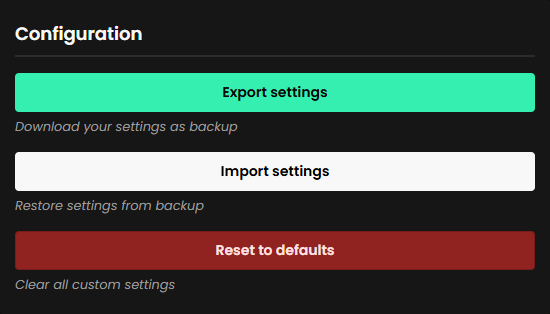
Select Export Settings to download a JSON backup of your configuration. To restore or move it to another browser profile, select Import Settings and choose that JSON file. Review the imported configuration afterward, especially active views and notification preferences.
Webhook URLs are stored separately and are not included in the settings export.
Reset settings to defaults
Select Reset Settings to restore Zentip's default configuration. Export a backup first if you might want to recover your current setup. Resetting Zentip settings does not change Zendesk.
Account and billing
Seven-day free trial
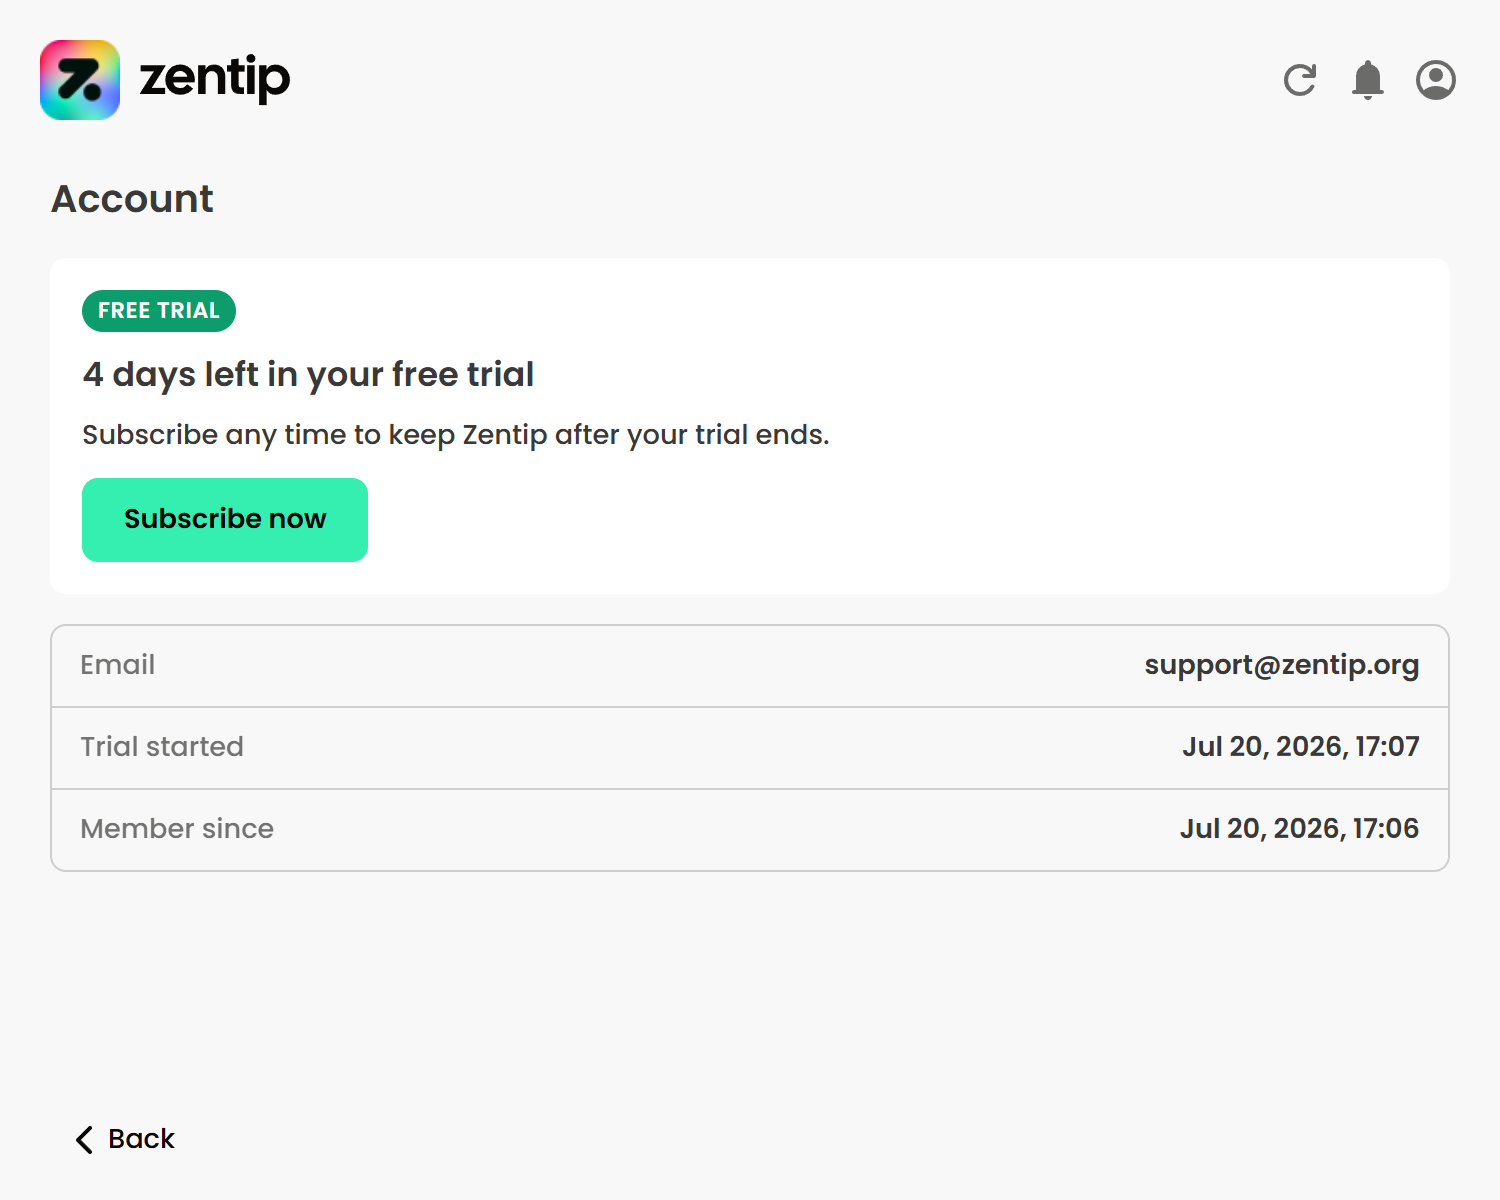
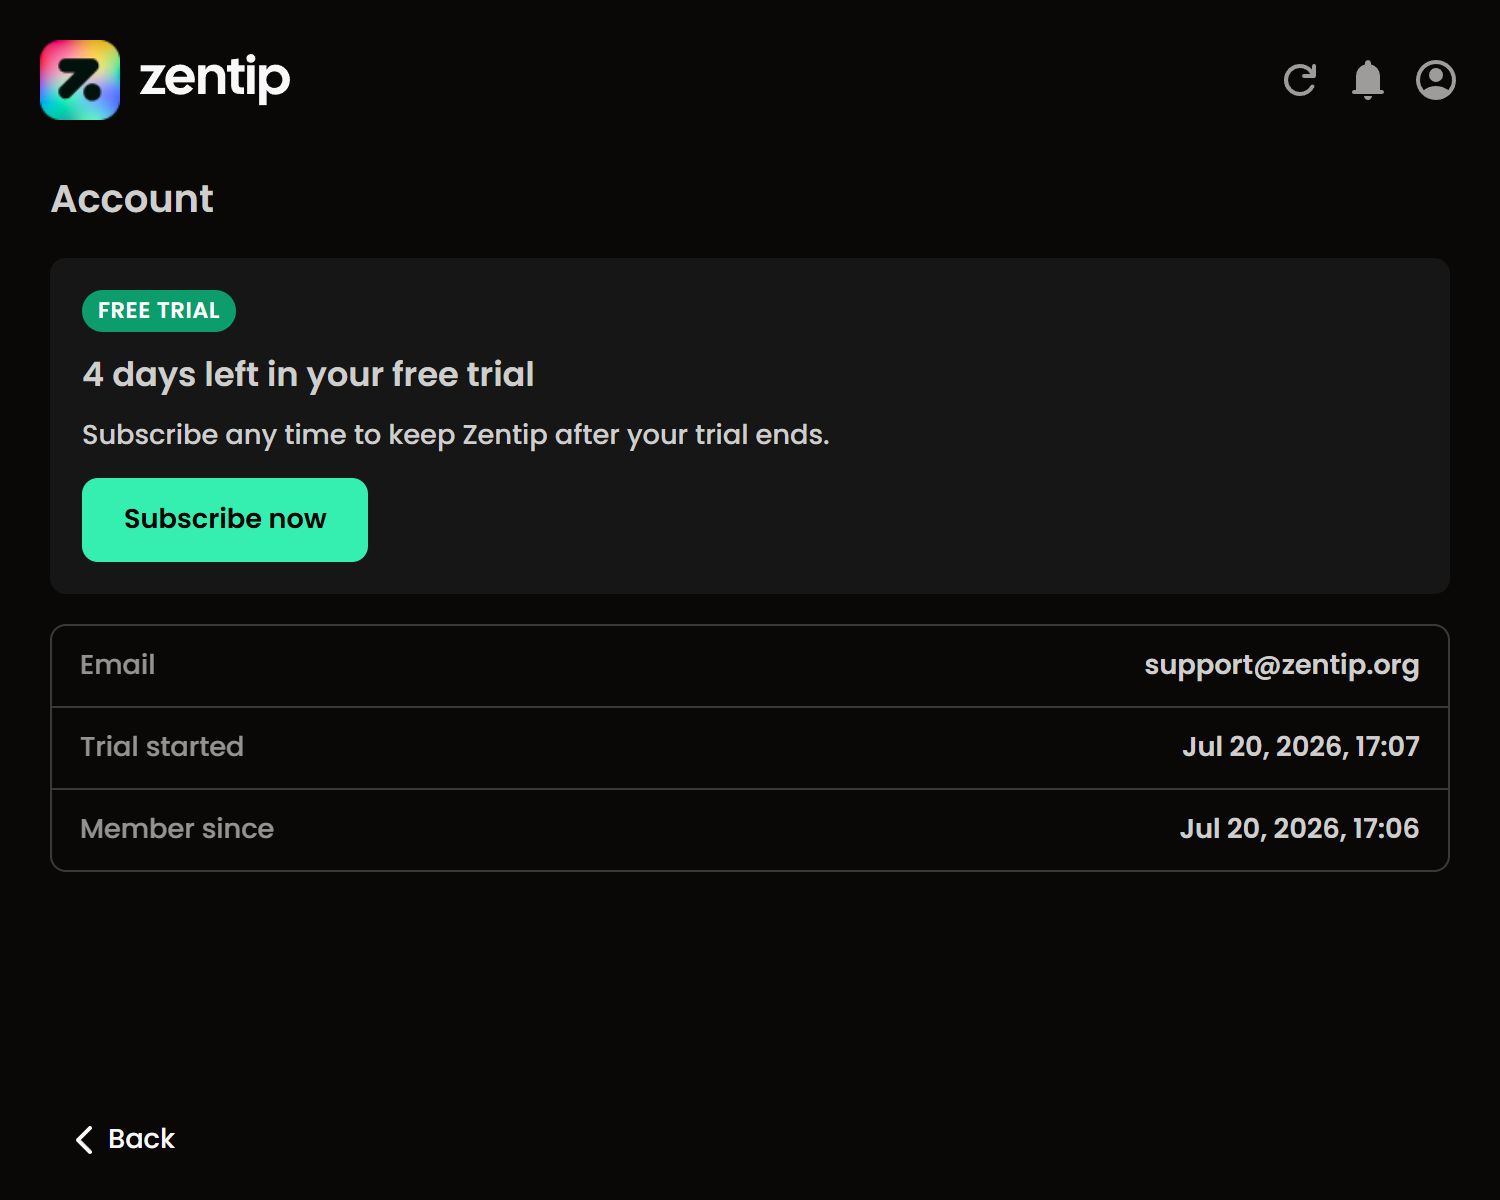
New users can start a seven-day trial without entering card details. The account screen shows when the trial began and how much time remains. Subscribe before or after it expires to continue using Zentip.
Monthly and annual plans
Zentip is available for €3 per month or €25 per year. Both plans unlock the same extension features and renew automatically until cancelled; the annual plan lowers the effective monthly cost. See the pricing page for the current offer.
View your account status
Open Zentip, select the profile icon, then select Account. The status card can show your trial or subscription state, email, plan, and relevant start or renewal dates. A past-due or expiring state is also shown here when action is needed.
Manage your subscription
From the account screen, select Manage Subscription to open the secure ExtensionPay billing page. Use it to review your subscription, update billing details, or cancel. Return to Zentip afterward and reopen the account screen to refresh the displayed status.
Cancel or resubscribe
Cancel through Manage Subscription. Your access continues until the end of the paid billing period and the account screen shows the scheduled end date. If access is still active, select Resubscribe to resume renewal; if it has ended, choose a plan again.
Payment problems
If a renewal fails, Zentip may show a past-due status and an Update Payment action. Open it, confirm the card and billing details with the payment provider, then return to the account screen.
If a successful purchase is not recognized, make sure you are using the same browser profile and email used for the purchase, then select the account login or status refresh action. If the problem continues, contact support with the billing email and approximate purchase time—never send a full card number.
Privacy and permissions
Chrome permissions used by Zentip
Zentip requests only the browser access needed for its extension features:
- Notifications: show new-ticket and ticket-update alerts.
- Storage: save settings, views, ticket cache, and notification history.
- Alarms: schedule background checks at the interval you choose.
- Offscreen access: play the alert sound you select.
- Zendesk site access: request data from the Zendesk subdomain you connect.
- ExtensionPay site access: check trial and subscription status.
- Optional webhook site access: requested only when you enable a supported Slack, Microsoft Teams, or Discord webhook. Zentip requests access only to that provider's webhook host.
See the privacy policy for the complete data-handling summary.
How Zentip handles Zendesk data
Zentip requests permitted ticket, view, user, comment, and attachment information directly from Zendesk using your active browser sign-in. The extension processes that information in the browser to build views, detect changes, and display notifications. It does not send Zendesk content to a server operated by Zentip.
Zentip can only display data your signed-in Zendesk account is allowed to access.
Locally stored data and settings
Zentip uses Chrome extension storage for your subdomain, settings, active and custom views, refresh timestamps, notification history, and enough cached ticket data to identify changes. Ticket data and webhook URLs stay in local extension storage. Some non-secret preferences may follow your Chrome profile when browser sync is enabled.
Use Clear Cached Data when you want Zentip to discard its ticket cache, or enable clearing when Chrome closes. Signing out or losing access also limits retained ticket cache.
Webhook data and privacy
When webhooks are enabled, Zentip sends eligible alert data directly from your browser to the Slack, Microsoft Teams, or Discord webhook URL you supplied. The destination service then handles that message under its own access, storage, retention, and privacy rules.
Treat webhook URLs as secrets and restrict the destination to appropriate members. Enable Hide Details to omit the message excerpt, requester, assignee, and brand when a destination should receive less ticket information.
ExtensionPay and Stripe
Zentip uses ExtensionPay to manage trials and subscription access and Stripe to process payments. Billing details are entered on their secure pages; Zentip does not receive or store your full card number. Review the ExtensionPay FAQ and Stripe Privacy Policy for more information.
Troubleshooting
Zentip can't connect to Zendesk
- Open your Zendesk subdomain in the same browser profile and confirm that it loads normally.
- Check that Zentip contains only the subdomain, not the full URL or .zendesk.com.
- Confirm your Zendesk role has permission to view tickets and views.
- Reopen Zentip and try connecting or refreshing again.
If your organisation uses a sign-in redirect or session policy, complete that sign-in in Zendesk first. Contact your Zendesk administrator if the browser cannot access the account directly.
Zentip says you are not signed in
Zentip shares the Zendesk session in your current browser profile. Open Zendesk, sign in again, and leave the sign-in flow only after the ticket interface loads. Then reopen Zentip and select refresh. Also check that you did not sign in through a different browser profile or private window.
Views or tickets are missing
- Open the view selector and make sure the view is active.
- Use the plus icon and View from Zendesk if it has not been added yet.
- Check the tab drawer when there is not enough room for every active tab.
- Select refresh, then verify that the ticket is present and visible to you in Zendesk.
- For a custom view, select Edit View and confirm that the ticket ID is correct.
Views and tickets restricted by Zendesk permissions cannot be made visible by Zentip.
Notifications are not appearing
- Check that Chrome notifications are allowed in your operating-system notification settings.
- On Windows, open the notification settings for your specific browser—such as Google Chrome or Microsoft Edge—and enable Show notification banners.
- Make sure Chrome is not blocked by Focus Assist, Do Not Disturb, or an equivalent mode.
- Check Zentip's quiet hours and confirm the current time is outside the quiet period.
- Disable Manual refresh only if you expect background detection.
- Make sure the affected view is active, then select refresh to test for changes.
If alerts appear silently, choose a notification sound other than Silent.
Webhook notifications are not arriving
- Select the correct service and confirm its webhook URL is complete and still active.
- Use Test Webhook. If the test fails, recreate the URL using the service's official guide.
- For Teams, use the Workflows template for sending webhook alerts to a channel or chat.
- Check that the ticket belongs to a monitored active view and matches at least one watch keyword.
- Wait for the per-ticket cooldown to finish before expecting another alert for the same ticket.
An empty keyword field allows all otherwise eligible tickets, and an empty monitored-view selection uses all active views. Workspace policies may require an administrator to allow incoming webhooks.
Settings are not applying
Close and reopen Zentip, then check the control again. For refresh settings, allow the current scheduled cycle to finish or select refresh manually. If you imported a settings file, confirm it was a valid Zentip JSON export and review each imported value.
If the problem remains, export a backup, select Reset Settings, and test the affected option with its default value. You can then import the backup if needed.
Subscription is not recognized
- Open the account screen and use its login or status refresh action.
- Confirm you are using the browser profile and email associated with the subscription.
- Open Manage Subscription and check that the plan is active and payment is current.
- If payment is past due, use Update Payment and reopen Zentip afterward.
If access still does not update, contact support with the billing email, plan, and approximate purchase date. Do not include card details.
Support
Contact support
If the documentation and troubleshooting steps do not resolve the issue, use the contact page to reach Zentip support. Include the email address where you want a reply and a clear summary of what you need help with.
Never send passwords, full payment-card details, webhook URLs, or private ticket content.
Report a problem
A useful problem report includes:
- The browser name and version and your Zentip version.
- The section or feature you were using and the steps that produced the issue.
- What you expected to happen and what happened instead.
- The exact error message, if one appeared.
- A screenshot with customer names, ticket text, email addresses, and webhook URLs removed.
For connection problems, include only the Zendesk subdomain if it is safe to share. For billing problems, include the billing email and approximate transaction time, never the card number.